

Fit the cuff, choose the fall, and pace every decrease
This wearable crochet Santa hat pattern separates three decisions that fixed-size patterns often bundle together: how firmly the white cuff fits, how long the red cone falls, and how quickly the cone narrows. You will calculate each part from a washed joined-round gauge, then follow a complete decrease ledger instead of adding or skipping random rounds.
What This Pattern Solves
This is a teen/adult wearable hat, not a mini ornament, doll accessory, knitted cap or felt template. It is worked from the lower edge upward in joined half-double-crochet rounds. The white section folds into a double cuff; the red section decreases in eight equal sectors until eight stitches remain.
The method is called the Cuff–Fall–Tip Map. It gives you:
- a legal body count based on the wearer and washed fabric;
- the estimated circumference and negative ease at the chosen count;
- a cuff depth that does not accidentally steal length from the red cone;
- the exact red rounds on which eight decreases occur;
- the stitch count after every decrease round;
- a physical return point for each visible failure.
The method does not promise warmth, infant safety or a universal “one size fits all.” For a design focused on wind resistance and ear coverage, use the Crochet Winter Hat Pattern. For broader size planning, use the Crochet Hat Size Ranges and Stitch Calculator. Here, the result is a fitted holiday cuff plus a long, smoothly narrowing, pom-bearing tip.
Project Overview
- Skill level: confident beginner to intermediate
- Construction: bottom-up, joined half-double-crochet rounds
- Sector system: eight equal decrease sectors
- Yarn: red and white #4 medium/worsted yarn from the same yarn family, or two yarns that produce compatible washed gauges
- Planning quantity: approximately 250–350 yd / 229–320 m red and 80–130 yd / 73–119 m white for an adult; this is a purchasing buffer, not a tested guarantee
- Hook: size needed for the washed gauge and comfortable cuff; 5–5.5 mm is only a starting range
- Notions: flexible tape, yarn needle, nine removable markers, scissors and a pom-pom maker or lightweight ready-made pom
- Optional: two short washable ties if you want the pom to be removable
The Craft Yarn Council’s Standard Yarn Weight System explains yarn categories and suggested hook ranges. Those label ranges do not replace a washed sample. Novelty fur can obscure stitches and can change recovery; use it only after making a separate swatch and rebuilding the count from that fabric.
US Abbreviations and Round Convention
| Abbreviation | Meaning |
|---|---|
| ch | chain |
| hdc | half double crochet |
| hdc2tog | half double crochet two stitches together |
| rnd | round |
| sl st | slip stitch |
| st(s) | stitch(es) |
This pattern uses US terminology. The Craft Yarn Council Crochet Abbreviations Master List provides the standard forms and term equivalents.
Join every round with a slip stitch to the first true hdc. Chain 1 to begin the next round; the chain does not count as a stitch. Do not turn unless you deliberately swatched turned rounds and recalculated from that fabric.
Measure and Swatch Before Choosing a Count
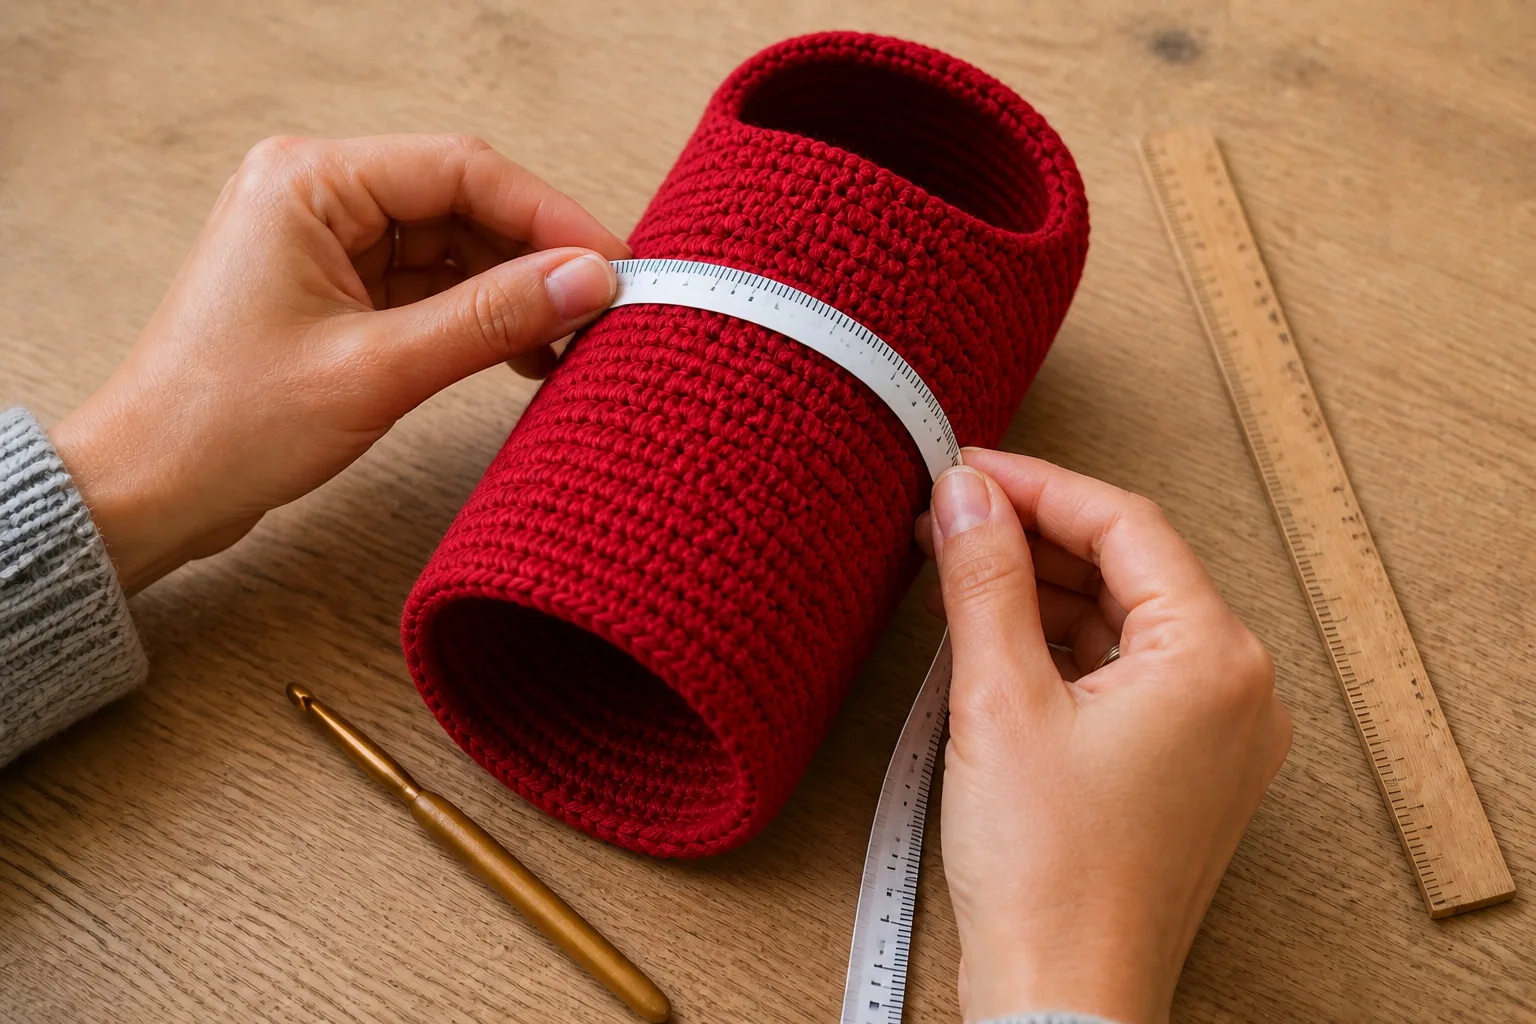
Measure the line where the cuff will sit: across the forehead, above or partly over the ears as intended, and around the fullest back point. Keep the tape level and comfortably close. Record this as H.
Make a joined-round tube in the planned red yarn and hook. A 32- or 40-stitch tube worked for at least 16 rounds gives enough interior fabric to measure away from the foundation and join.
- Chain 32 or 40 loosely, join without twisting, and work joined hdc rounds.
- Mark the first true stitch so the join does not gain or lose stitches.
- Wash and dry the tube exactly as the hat will be treated.
- Measure stitches across exactly 4 in and record g_s.
- Measure rounds across exactly 4 in and record g_r.
- Stretch the lower edge to a comfortable wearing pressure, release it, and reject fabric that stays bagged out or feels rigid.
If you measure over 10 cm, use the metric formulas below with a divisor of 10. Do not relabel a 4 in measurement as 10 cm: 4 in equals 10.16 cm.
The Cuff–Fall–Tip Map
Use one unit system throughout.
- H: head circumference
- e: starting negative ease as a decimal
- g_s: washed stitches per 4 in, or per 10 cm
- g_r: washed rounds per 4 in, or per 10 cm
- F: desired visible folded-cuff depth
- L: desired red-cone length, measured along the relaxed fabric from cuff top to tip
- B: chosen body count, divisible by eight
- R: total red rounds
A 6–10% negative-ease range is a useful trial window for a recovering medium-weight hdc fabric. It is not a universal fit law. Hair volume, yarn memory, stitch density and wearer sensitivity can change the correct result. The cuff gate below has the final say.
For a classic adult side fall, F = 1.5–2 in / 3.8–5.1 cm and L = 18–22 in / 45.7–55.9 cm are planning ranges, not required proportions. Choose the point where you want the pom to land; head circumference does not have to determine that visual length.
Calculate the fitted body count
Target circumference
C_target = H × (1 – e)
Raw body count, inch gauge
B_raw = C_target × g_s / 4
Raw body count, metric gauge
B_raw = C_target × g_s / 10
Compare the multiples of eight immediately below and above B_raw. For each legal count, calculate:
C_actual = B × 4 / g_s in inches
For a metric stitch gauge:
C_actual = B × 10 / g_s in centimeters
estimated negative ease = (H – C_actual) / H
Choose only a legal count that remains plausible for the washed fabric and then confirm it on the wearer. If neither legal neighbor works, change the hook or yarn, wash a new tube and recalculate. Never add four stitches and call it “half a sector.”
Calculate the folded white cuff
Because the white fabric folds in half, work twice the desired visible depth.
W = round(2 × F × g_r / 4) with inch gauge
For cuff rounds measured per 10 cm:
W = round(2 × F × g_r / 10) with metric gauge
Round to the nearest whole round; an exact .5 rounds up. The finished cuff depth is an estimate until the washed fold is measured.
Convert red fall length into rounds
R = round(L × g_r / 4) with inch gauge
For red-section rounds measured per 10 cm:
R = round(L × g_r / 10) with metric gauge
This is fabric length measured along the relaxed cone, not vertical height above the head. A soft cone bends under its own fabric and pom weight; the movement gate, not arithmetic, decides the final landing point.
Build the decrease schedule
The final tip count is eight stitches.
D = (B – 8) / 8
D is the number of decrease rounds. Reserve Red Rounds 1 and 2 as plain rounds, then calculate:
S = R – 2
q = floor(S / D)
r = S mod D
Create r intervals of q + 1 rounds, followed by D – r intervals of q rounds. The last round in every interval is a decrease round. This quotient-and-remainder step distributes all required decreases across the selected length without collisions.
If S < D, the requested cone is too short for distinct eight-stitch decrease rounds. Choose a longer red section, change the gauge/sector plan, or make a different style. Do not place two full decrease sets in one round to force an impossible request.
Worked Example: 22-Inch Head
The default example uses:
- H = 22 in / 55.9 cm
- e = 8%
- g_s = 14 hdc per 4 in
- g_r = 9 rounds per 4 in
- F = 1.75 in / 4.4 cm
- L = 20 in / 50.8 cm
Fit and cuff
C_target = 22 × 0.92 = 20.24 in
B_raw = 20.24 × 14 / 4 = 70.84
The legal neighbors are 64 and 72. Choose 72 for this example.
C_actual = 72 × 4 / 14 = 20.57 in / 52.3 cm
Estimated negative ease at the chosen count is (22 – 20.57) / 22 = 6.49%.
Count 64 would measure only 18.29 in / 46.4 cm and create about 16.9% negative ease, so it is rejected before crocheting the hat.
W = round(2 × 1.75 × 9 / 4) = 8 white rounds
Fall length and taper
R = round(20 × 9 / 4) = 45 red rounds
D = (72 – 8) / 8 = 8 decrease rounds
S = 45 – 2 = 43
q = 43 div 8 = 5, with r = 3
Use three six-round intervals and five five-round intervals. Starting after the two reserved rounds, the decrease rounds are:
8, 14, 20, 25, 30, 35, 40, 45
The audited count path is:
72 → 64 → 56 → 48 → 40 → 32 → 24 → 16 → 8
| Red round(s) | Action | End count |
|---|---|---|
| 1–7 | hdc in every stitch | 72 |
| 8 | decrease once in each of 8 sectors | 64 |
| 9–13 | hdc in every stitch | 64 |
| 14 | 8 sector decreases | 56 |
| 15–19 | hdc in every stitch | 56 |
| 20 | 8 sector decreases | 48 |
| 21–24 | hdc in every stitch | 48 |
| 25 | 8 sector decreases | 40 |
| 26–29 | hdc in every stitch | 40 |
| 30 | 8 sector decreases | 32 |
| 31–34 | hdc in every stitch | 32 |
| 35 | 8 sector decreases | 24 |
| 36–39 | hdc in every stitch | 24 |
| 40 | 8 sector decreases | 16 |
| 41–44 | hdc in every stitch | 16 |
| 45 | 8 sector decreases | 8 |
Complete Crochet Santa Hat Pattern
Use your calculated B, W, R and decrease ledger. Parenthetical counts below follow the 22-inch example.
Part 1: Make the white double cuff
With white yarn, make a loose foundation chain of B chains (72). Use a hook 0.5–1 mm larger for the chain if needed, then return to the gauge hook.
- Without twisting, slip stitch into the first chain.
- White Round 1: Chain 1; hdc in the first chain and every chain around. Join to the first hdc. B sts
- White Rounds 2–W (2–8): Chain 1; hdc in every stitch. Join. B sts
- Measure the relaxed white band. It should be close to twice F before folding.
You may use foundation hdc instead of a chain if it produces the same washed circumference. Do not substitute a tight conventional chain and assume blocking will create missing stretch.
Change to red at the final join. Keep white attached only if you need it later for discreet cuff tacks; otherwise fasten off and weave the tail without tightening the ring.
Cuff gate
After Red Round 2, fold the white section outward in half and place the open tube on the wearer.
Pass: the opening crosses the widest head point, returns to the wear line, stays for 30 seconds and feels comfortably close.
If it is tight, loose or permanently stretched, stop here. Return to the legal count, hook or washed fabric. More red rounds cannot repair cuff circumference.

Part 2: Mark the eight sectors
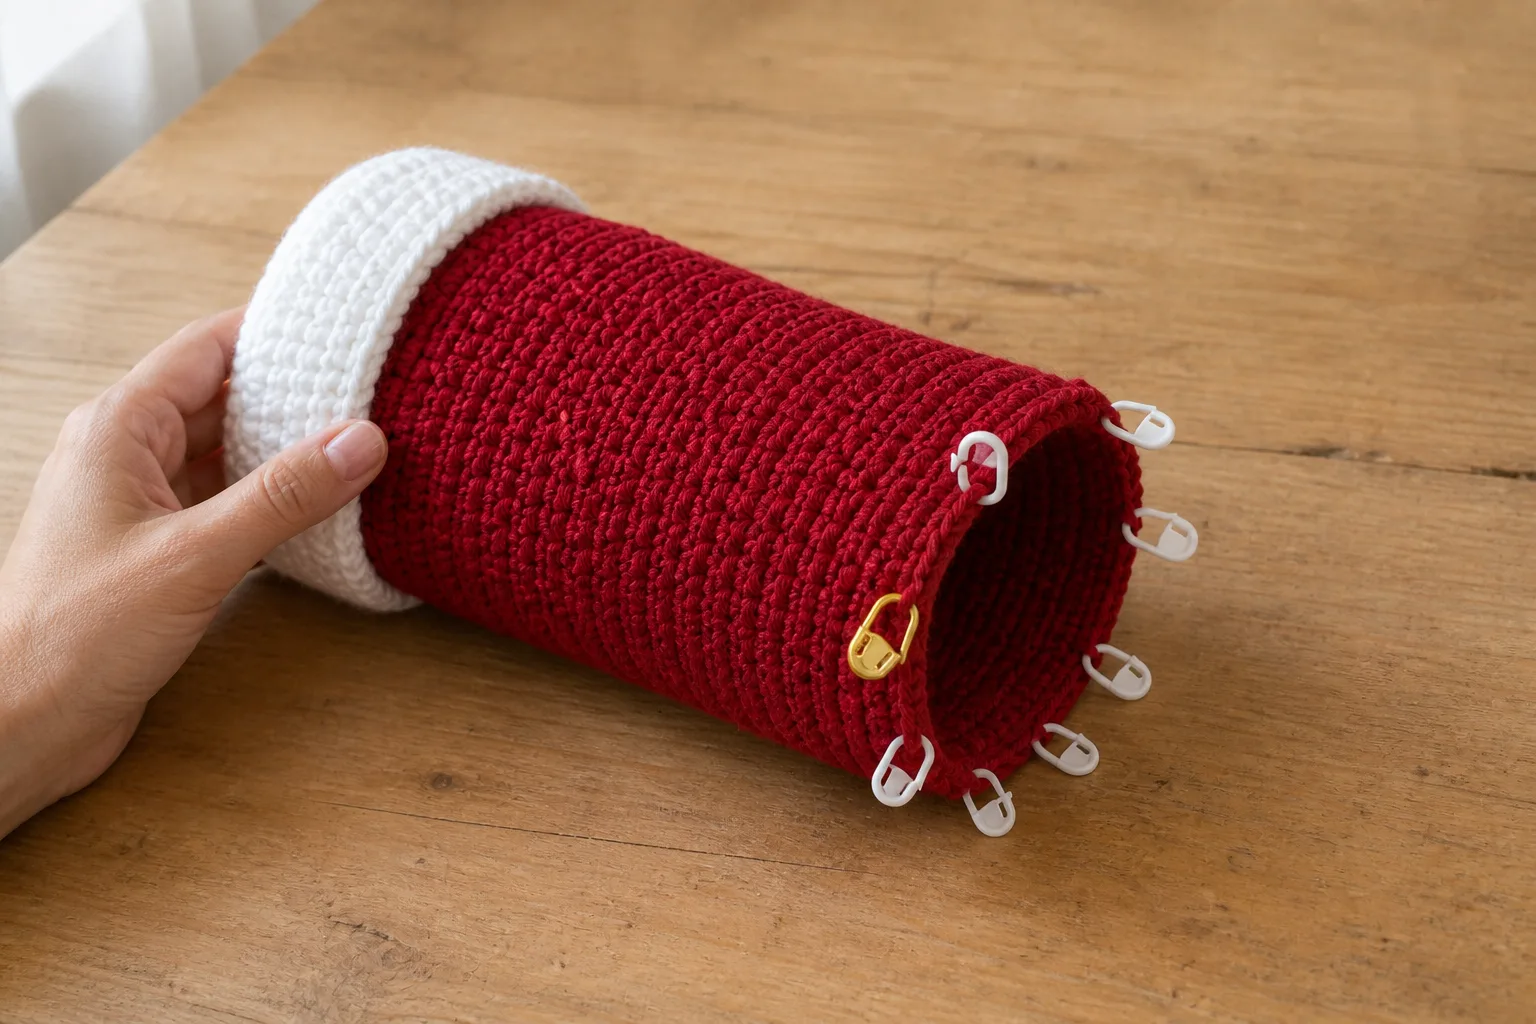
At B stitches, each sector contains B / 8 stitches. For 72 stitches, each sector begins with 9 stitches.
Place one matching marker at each sector boundary—exactly eight matching markers total. Use one marker of a different color or shape at the beginning of the round. The distinct round marker is not a ninth sector.
Part 3: Work plain and decrease rounds
On every plain round, chain 1, hdc in every stitch and join to the first hdc.
On a scheduled decrease round, let m = current stitch count / 8. In each sector work:
hdc in next m – 2 stitches, hdc2tog over the final 2 stitches
Repeat that instruction eight times. The round consumes all current stitches and ends with exactly eight fewer stitches.
For the default example:
| Starting count | Repeat 8 times | End count |
|---|---|---|
| 72 | 7 hdc, hdc2tog | 64 |
| 64 | 6 hdc, hdc2tog | 56 |
| 56 | 5 hdc, hdc2tog | 48 |
| 48 | 4 hdc, hdc2tog | 40 |
| 40 | 3 hdc, hdc2tog | 32 |
| 32 | 2 hdc, hdc2tog | 24 |
| 24 | 1 hdc, hdc2tog | 16 |
| 16 | hdc2tog | 8 |
After every decrease round, confirm the new count before moving the markers. The interval ledger controls when you decrease; the sector instruction controls how many stitches disappear.
Taper-line gate
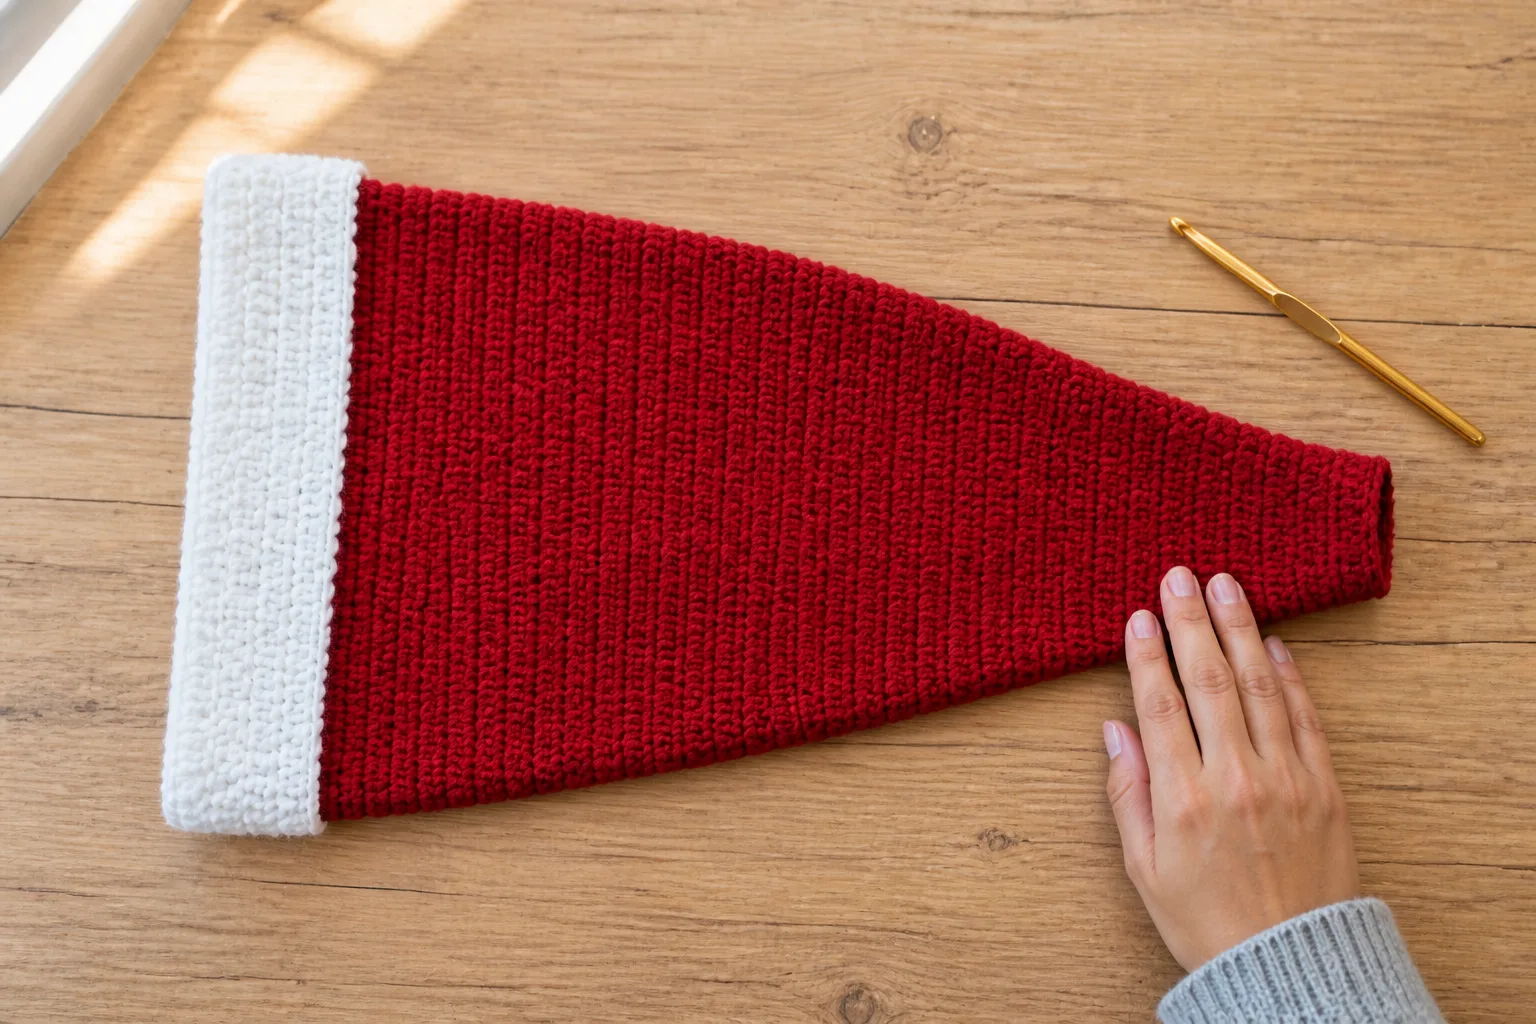
Pause after the third decrease round and again when 32 stitches remain.
Pass: both sides narrow smoothly, the join has not gained a ridge, and no interval was skipped or duplicated.
- Sudden shoulder: one decrease round was placed too soon or repeated. Undo to the first angle change and restore the ledger.
- Long narrow tube near the tip: the final decreases were placed too early. Undo to the first over-crowded interval and rebuild the spacing.
- Uneven side: one sector lost more than one stitch. Return to that decrease round and recount all eight sectors.
Part 4: Close the eight-stitch tip
After the final scheduled decrease round, cut the red yarn with a 12 in / 30 cm tail. Thread the tail through the front loop of each of the eight remaining stitches in order. Pull closed gradually, pass through all eight loops once more, and secure inside without forming a hard knot at the point.
Wash and dry the hat as the gauge tube was treated. Measure the red fabric from the top edge of the folded cuff to the closed tip. A small difference from L is expected; record the actual result rather than rewriting the gauge.
Part 5: Fold and secure the cuff
Fold the white band outward so the lower and upper white edges align visually. Use the white tail to place four loose, removable tacks at quarter points if the cuff unfolds during wear. The tacks should connect fabric layers without pulling the red body inward.
Part 6: Attach a light pom
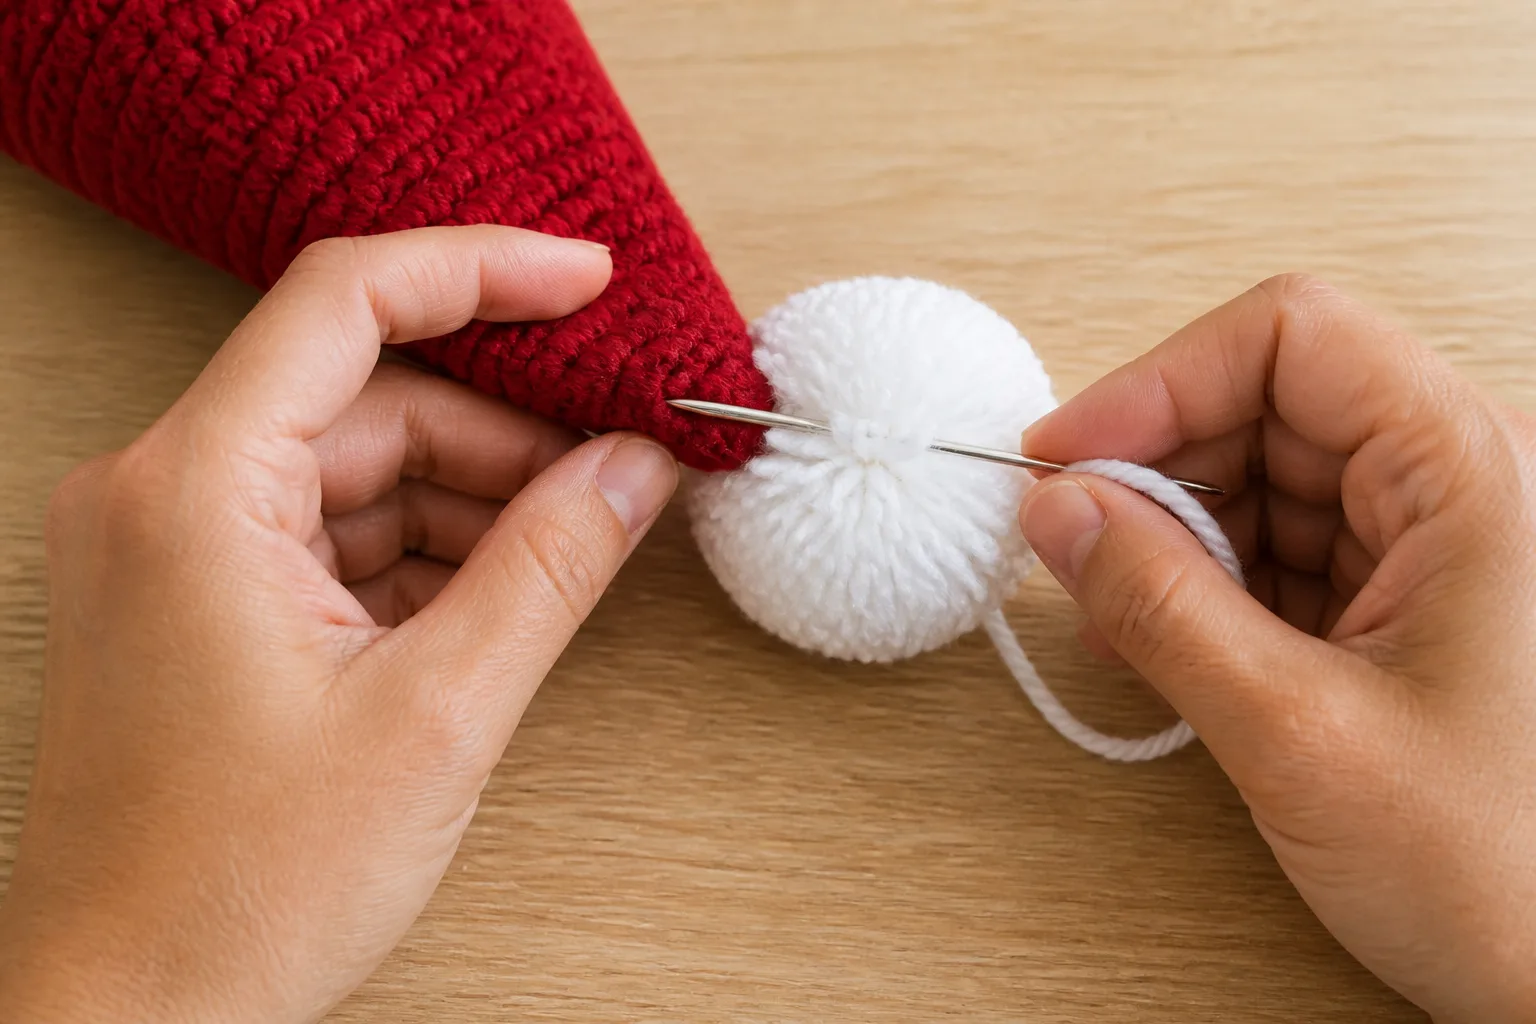
Make or choose a lightweight white pom. Before permanent attachment, clip or loosely tie it to the tip and let the wearer turn the head, look down and bend forward.
For a removable finish, pass two washable ties from the pom through opposite sides of the closed tip and tie them inside in a bow. For a permanent finish, sew through the reinforced eight-stitch closure several times, changing direction so the load is not carried by one loop.
Four Final Acceptance Gates
Cuff recovery
Pass: the cuff crosses the widest head point, returns to the selected line and remains comfortable for 30 seconds.
Minimum correction: return to the body count or washed fabric; do not tighten only the last white round.
Count and sequence
Pass: every scheduled decrease round removes exactly eight stitches, every plain round preserves the count, and the sequence ends at eight stitches on Red Round R.
Minimum correction: undo to the first count mismatch. Do not hide an error by decreasing extra stitches later.
Taper and fall
Pass: the dry red side line narrows smoothly and the pom reaches the intended side position without pulling the cuff upward.
Minimum correction: a wrong side angle returns to the first misplaced decrease; a correct shape with the wrong landing point returns to L and the round schedule.
Movement and eye clearance
Pass: the wearer can turn left and right, look down and bend forward while the cuff stays stable and the pom remains outside both eyes.
Minimum correction: reduce pom weight first; then shorten the red length or improve cuff recovery if needed.

Worked Example: 23-Inch Head
This independent case uses H = 23 in / 58.4 cm, e = 8%, g_s = 15 hdc per 4 in, g_r = 10 rounds per 4 in, F = 2 in / 5.1 cm, and L = 22 in / 55.9 cm.
C_target = 23 × 0.92 = 21.16 in
B_raw = 21.16 × 15 / 4 = 79.35
The legal neighbors are 72 and 80. Choose 80.
C_actual = 80 × 4 / 15 = 21.33 in / 54.2 cm
Estimated negative ease at the chosen count is (23 – 21.33) / 23 = 7.25%.
The cuff requires round(2 × 2 × 10 / 4) = 10 white rounds.
The red section requires round(22 × 10 / 4) = 55 rounds.
D = (80 – 8) / 8 = 9, S = 55 – 2 = 53, so q = 5 and r = 8. Use eight six-round intervals followed by one five-round interval.
The decrease rounds are:
8, 14, 20, 26, 32, 38, 44, 50, 55
The count path is:
80 → 72 → 64 → 56 → 48 → 40 → 32 → 24 → 16 → 8
This second case confirms that a different head, gauge, cuff and fall length still finish on the requested final round without duplicated decreases or broken sectors.
Troubleshooting by Return Point
| Symptom | Likely cause | Minimum correction | Return point |
|---|---|---|---|
| Cuff will not cross the head | chain, legal count or washed recovery is too small | rework the opening with the adjacent legal count or a new swatch | foundation/count |
| Cuff slides upward or down | estimated ease is too low or fabric recovery is weak | test the lower legal count or change the fabric | count/swatch |
| White cuff looks too shallow | W used visible depth instead of double depth | add only the missing white rounds before red work continues | white cuff |
| Cone has a sudden shoulder | decrease happened early, twice or in extra sectors | undo to the first angle change and restore the ledger | first wrong decrease |
| Tip becomes a narrow tube | final decreases were crowded too early | recalculate intervals across the same R | first crowded interval |
| Count is not divisible by eight | stitch was gained/lost on a join or an illegal count was used | find the first mismatch; do not invent a partial sector | last verified round |
| Tip puckers into a hard lump | final closure or pom stitches were pulled too tightly | reopen only the closure and distribute tension across eight loops | final eight stitches |
| Pom hits an eye | pom is heavy, L is too long or cuff moves | reduce pom weight, then revisit length or cuff fit | pom/movement gate |
Frequently Asked Questions
How do you crochet a Santa hat for beginners?
Work a fitted white tube, change to red, and decrease the red body in equal sectors until a small tip remains. For beginners, use one join convention, mark all eight sectors and verify the stitch count after every decrease round.
Can I use a different yarn weight?
Yes, but do not reuse the example counts. Make and wash a joined-round tube in the substitute yarn, measure both gauges, calculate the neighboring multiples of eight, and regenerate W, R and the decrease intervals. A yarn label category alone cannot preserve fit or taper.
Why does my Santa hat look short and blunt?
The red section contains too few plain rounds for the required decreases, or the decreases were placed too close together. Increase the chosen L and recalculate, then undo to the first crowded interval. Adding a narrow tube after a blunt cone does not repair the side line.
How deep should the white cuff be?
A visible 1.5–2 in / 3.8–5.1 cm cuff is a useful adult starting range. Because the cuff is folded, crochet about twice that depth before folding. Measure the washed result and adjust to the wearer rather than treating the range as a standard.
Can I use faux fur for the white cuff?
You can, but fuzzy yarn may hide stitches and behave differently from the red body. Make a separate washed swatch, confirm that the opening recovers, and plan how its edge will connect to B red stitches. Do not substitute it after calculating with smooth worsted gauge.
How do I make the pom removable for washing?
Attach two washable ties to the pom, pass them through opposite sides of the reinforced eight-stitch tip, and tie them inside in a bow. Remove the pom before washing and follow both yarn and pom care instructions.
Record H, e, both washed gauges, the chosen legal count, F, L, every decrease round, every end count and all four gate results. That ledger makes the next Santa hat reproducible instead of dependent on one designer’s tension.