
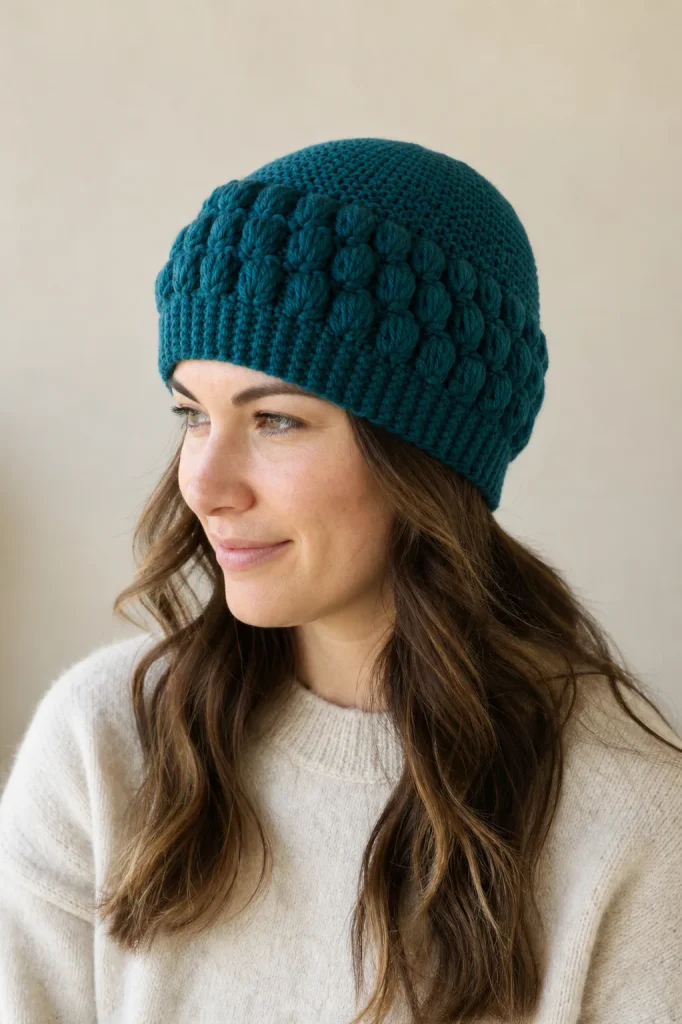
Fit the band, texture height and crown from your own washed gauge
A puff stitch hat can match a written stitch count and still be too wide, too short or bulky at the crown. The reason is simple: puff stitches are shaped by the height of the loops you draw up, so two crocheters can use the same yarn and hook yet produce different module widths and row heights.
This bottom-up pattern solves that problem with a Puff Fit Bridge. You size the stretchy band and the puff fabric separately, connect the two counts only when the change is small enough to distribute cleanly, and reserve a measured amount of height for a smooth half-double-crochet crown.
Why a Fixed Puff-Stitch Count Is Unreliable
A conventional gauge statement such as “14 stitches equal 4 inches” is incomplete when the repeat contains raised clusters and spacer chains. The finished width depends on at least four things:
- how high each loop is drawn before the puff closes;
- how tightly the closing chain is worked;
- how much space the chain between puffs is allowed to occupy;
- how the washed yarn relaxes or blooms.
That is why copying an adult count from another pattern may not reproduce its fit. A count of 72 can describe 36 compact modules in one fabric and 36 wide, open modules in another. The number is useful only after it is connected to a measured, washed repeat.
This pattern does not promise that every adult needs 72 stitches. It shows how to find a usable count from the wearer and the actual fabric.
The Puff Fit Bridge
The method keeps two counts instead of pretending the ribbing and puff texture share one gauge.
| Symbol | What it means | Where it comes from |
|---|---|---|
| H | Actual head circumference at the intended wear line | Measure the wearer |
| E | Negative ease as a decimal | Choose from the washed band’s recovery |
| T | Target opening circumference | H × (1 − E) |
| A | Usable ribbed-band row count | T × stretched band rows per unit |
| M | Puff modules around the hat | T × washed modules per unit, rounded to a multiple of 6 |
| B | Texture base count | M × 2, therefore a multiple of 12 |
| R | Puff-body rounds | Available puff height × washed puff rounds per unit |
The bridge percentage is:
|B − A| ÷ A × 100
- 0–5%: usually a quiet transition when the changes are distributed evenly.
- More than 5% through 10%: workable, but inspect the first two puff rounds for flare or draw-in.
- More than 10%: do not force the counts together. Change the puff hook, adjust loop height, or make a new swatch.
The 10% limit is a construction gate, not a universal law. Its purpose is to stop a large gauge mismatch from being hidden inside one crowded round.
Define One Puff Module Before You Swatch
Puff-stitch instructions vary among patterns, so use this definition throughout the article.
Puff: yarn over, insert the hook in the indicated stitch or space, yarn over and draw up a loop to the same height four times; yarn over and pull through all 9 loops on the hook; chain 1 to close the puff.
One module: one completed puff plus the separate chain-1 spacer that follows it.
The closing chain belongs to the puff. The next chain is the spacer. Keeping those two chains mentally separate prevents an extra chain from appearing between repeats.
If pulling through nine loops is difficult, the loops may be too tight or uneven. Lift every loop to the same height before the final yarn over. Do not enlarge only the last loop to make the hook pass through.
Make a Washed Two-Part Swatch
Do not measure a narrow edge sample. Make enough fabric for the center to behave like the hat.
- Crochet at least 12 ribbing rows in single crochet through the back loop only.
- Above the ribbing, work at least 6 puff modules across and 5 puff rounds high.
- Mark the hook sizes used for the band and the texture.
- Wash and dry the swatch as the finished hat will be handled.
- Let it rest flat before measuring.
- Measure ribbing rows while the band is stretched only to a comfortable wearing tension.
- Measure the width of 6 or more relaxed puff modules, then divide by the number measured.
- Measure the height of 4 puff rounds in the center and divide to get rounds per unit.
- Work a small half-double-crochet area if the crown hook differs, and record its washed round gauge.
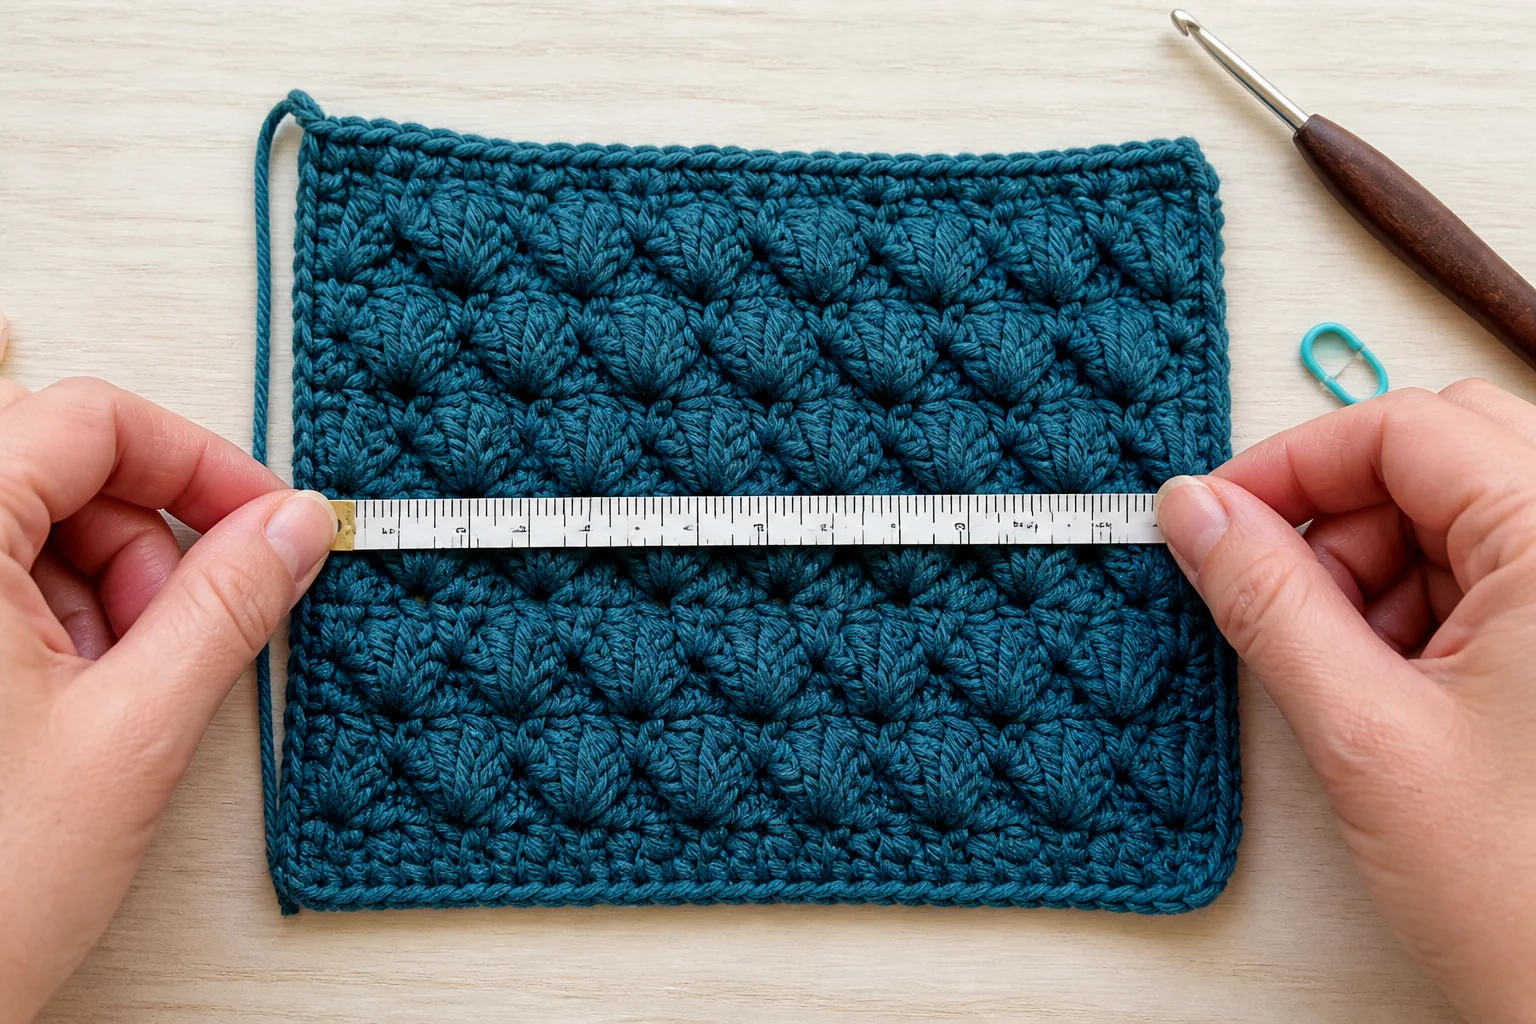
Record the state of the fabric with the number. “1.78 modules per inch, washed and relaxed” is useful. “About two puffs per inch” is not precise enough for a full circumference.
Choose Ease From Recovery, Not Yarn Labels
Negative ease makes the opening smaller than the head so the hat stays in place. Start with a modest range and let the washed band decide:
| Washed band behavior | Starting ease range | What to verify |
|---|---|---|
| Firm, limited stretch or slow recovery | 0–4% | The band reaches the wear line without pressure |
| Moderate stretch with good recovery | 4–7% | It returns close to its relaxed width after release |
| Resilient ribbing with strong recovery | 7–10% | It does not leave a deep mark after several minutes |
These are starting ranges, not size guarantees. Hair volume, fiber, ribbing depth and personal comfort can change the final choice.
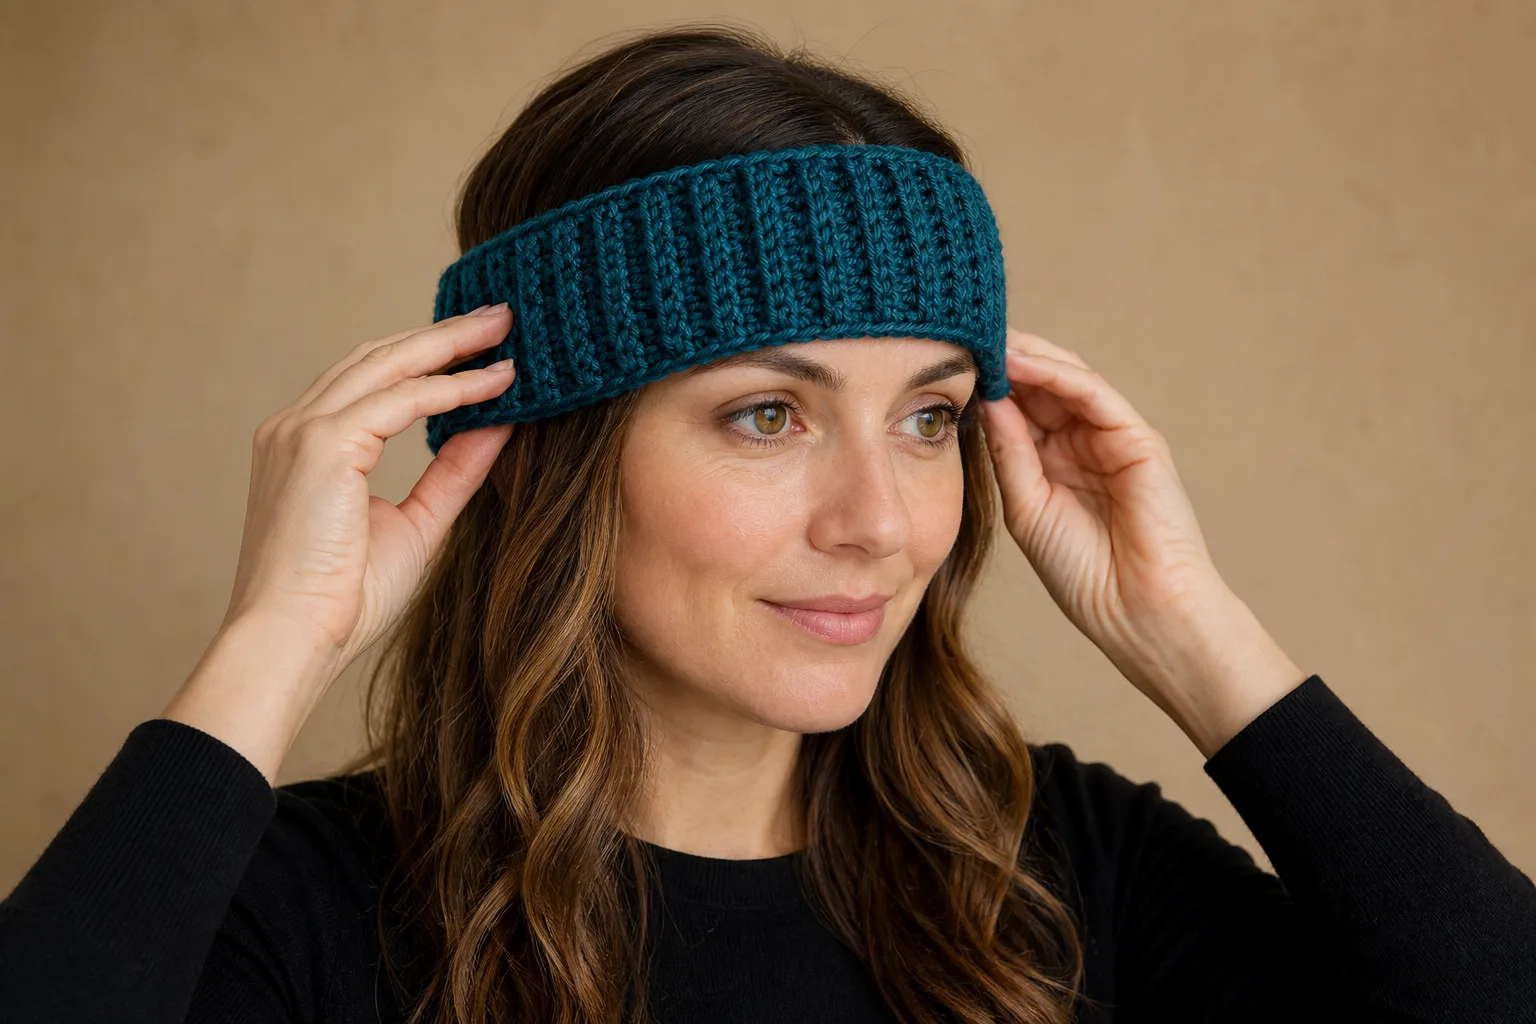
Before building the body, join the band and place it on the wearer at the actual wear line. It should sit above the eyebrows, cover the intended part of the ears and stay in place without hard pressure.
Calculate the Band and Texture Counts
Step 1: Find the Target Opening
Use:
T = H × (1 − E)
For a 22 in / 56 cm head and 8% ease:
22 × 0.92 = 20.24 in
The centimeter calculation gives the same proportion:
56 × 0.92 = 51.52 cm
Step 2: Find Band Count A
Multiply the target opening by the washed band’s stretched row gauge. If the comfortable stretched gauge is 3.36 rows per inch:
20.24 × 3.36 = 68.01 rows
Use A = 68 rows. That count is also the number of row ends available when you pick up the bridge round.
Step 3: Find Texture Count B
If the washed puff fabric measures 1.78 modules per inch:
20.24 × 1.78 = 36.03 modules
Round to the nearest multiple of 6: M = 36 modules.
Each module occupies two base stitches:
B = 36 × 2 = 72 stitches
Step 4: Test the Bridge
The difference is 4 stitches:
(72 − 68) ÷ 68 × 100 = 5.9%
That passes the 10% gate. Add four stitches evenly across the bridge round—approximately one increase after every 17 band-row pickups. Mark four quarters first so one section does not receive all the change.
If the result had been A = 60 and B = 72, the bridge would require a 20% increase. That fails. Reswatch instead of hiding 12 extra stitches above a fitted band.
Reserve Crown Height Before Working the Body
Many puff hats become too tall because the maker works texture until the hat nearly reaches the desired depth and only then begins a crown. Reserve the crown first.
Because B is a multiple of 12, the crown removes 12 stitches per decrease round until 12 remain. The number of crown rounds, including the transfer round, is:
crown rounds = B ÷ 12
For B = 72, the crown requires 6 rounds: one transfer round at 72 stitches and five decrease rounds to reach 12.
If the washed half-double-crochet crown gauge is 3 rounds per inch:
crown height = 6 ÷ 3 = 2 in
Now subtract the band and crown from the desired total depth. For an 8.5 in total depth and a 2 in band:
available puff height = 8.5 − 2 − 2 = 4.5 in
If the washed puff gauge is 1.4 rounds per inch:
R = 4.5 × 1.4 = 6.3 rounds
Use 6 puff rounds, then verify the actual depth before transferring to the crown. The rounded plan is a starting point; the physical checkpoint decides whether one more round is needed.
Materials and US Terms
For many adult versions in medium-weight yarn, prepare approximately 180–280 yd / 165–256 m. Puff stitches use repeated loops, so yarn use can vary substantially with puff fullness, size and depth. Treat this as a planning range rather than a promise.
- medium / weight 4 yarn with enough extra for swatching;
- one hook for the puff fabric, around 5 mm as a starting point;
- an optional hook 0.5 mm smaller for firmer ribbing;
- 12 removable stitch markers plus one contrasting round-start marker;
- flexible measuring tape, ruler, scissors and yarn needle.
US terms:
- ch — chain;
- hdc — half double crochet;
- hdc2tog — half double crochet two stitches together;
- sc — single crochet;
- sl st — slip stitch;
- st(s) — stitch(es);
- BLO — back loop only;
- puff — the special stitch defined above.
The starting hook is not a rule. Keep the hook that produces the washed module dimensions and fabric behavior used in your calculations.
Complete Bottom-Up Puff Stitch Hat Pattern
This construction is most straightforward when B is between 48 and 96 and is a multiple of 12. The worked example uses A = 68, B = 72, M = 36 and R = 6.
Crochet the Ribbed Band
Chain enough for the planned band depth plus one turning chain. For a band about 2 in / 5 cm deep in the worked fabric, chain 9.
Row 1: sc in the second chain from the hook and in each chain across; turn. — 8 sc.
Row 2: ch 1, sc BLO in each stitch across; turn. — 8 sc.
Repeat Row 2 until the band contains A rows and reaches the target opening under the same comfortable stretch used to measure the swatch.
Bring the short ends together without twisting. Slip stitch through matching loops, or seam the ends with the yarn needle. The join should have the same flexibility as the surrounding band.
Make the A-to-B Bridge
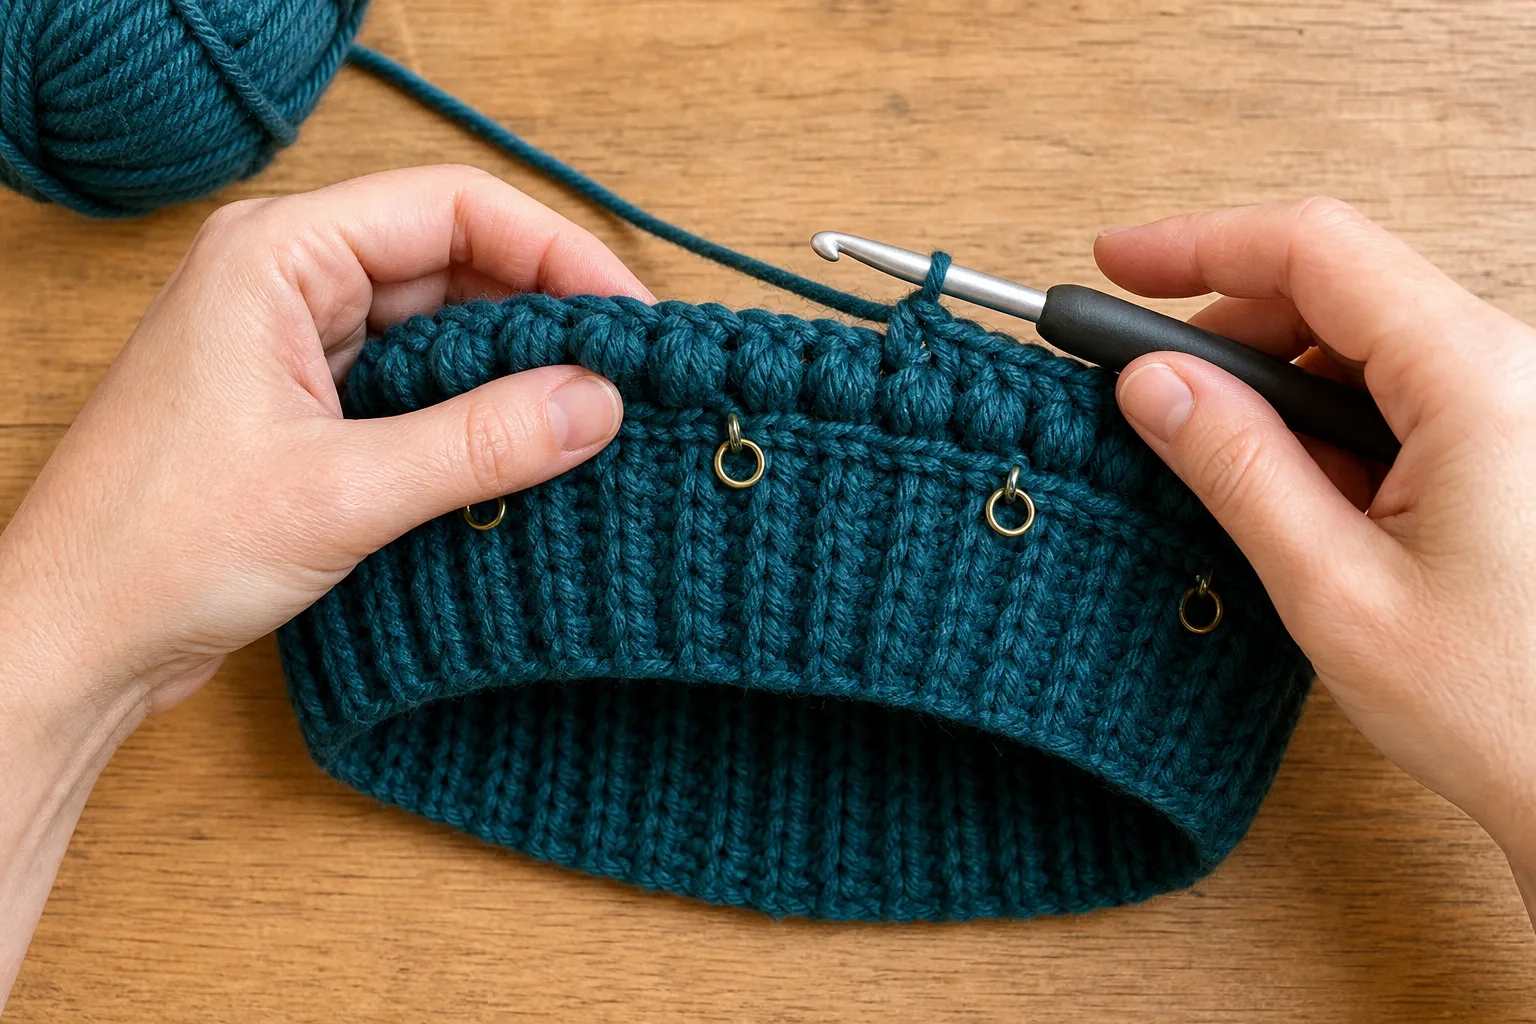
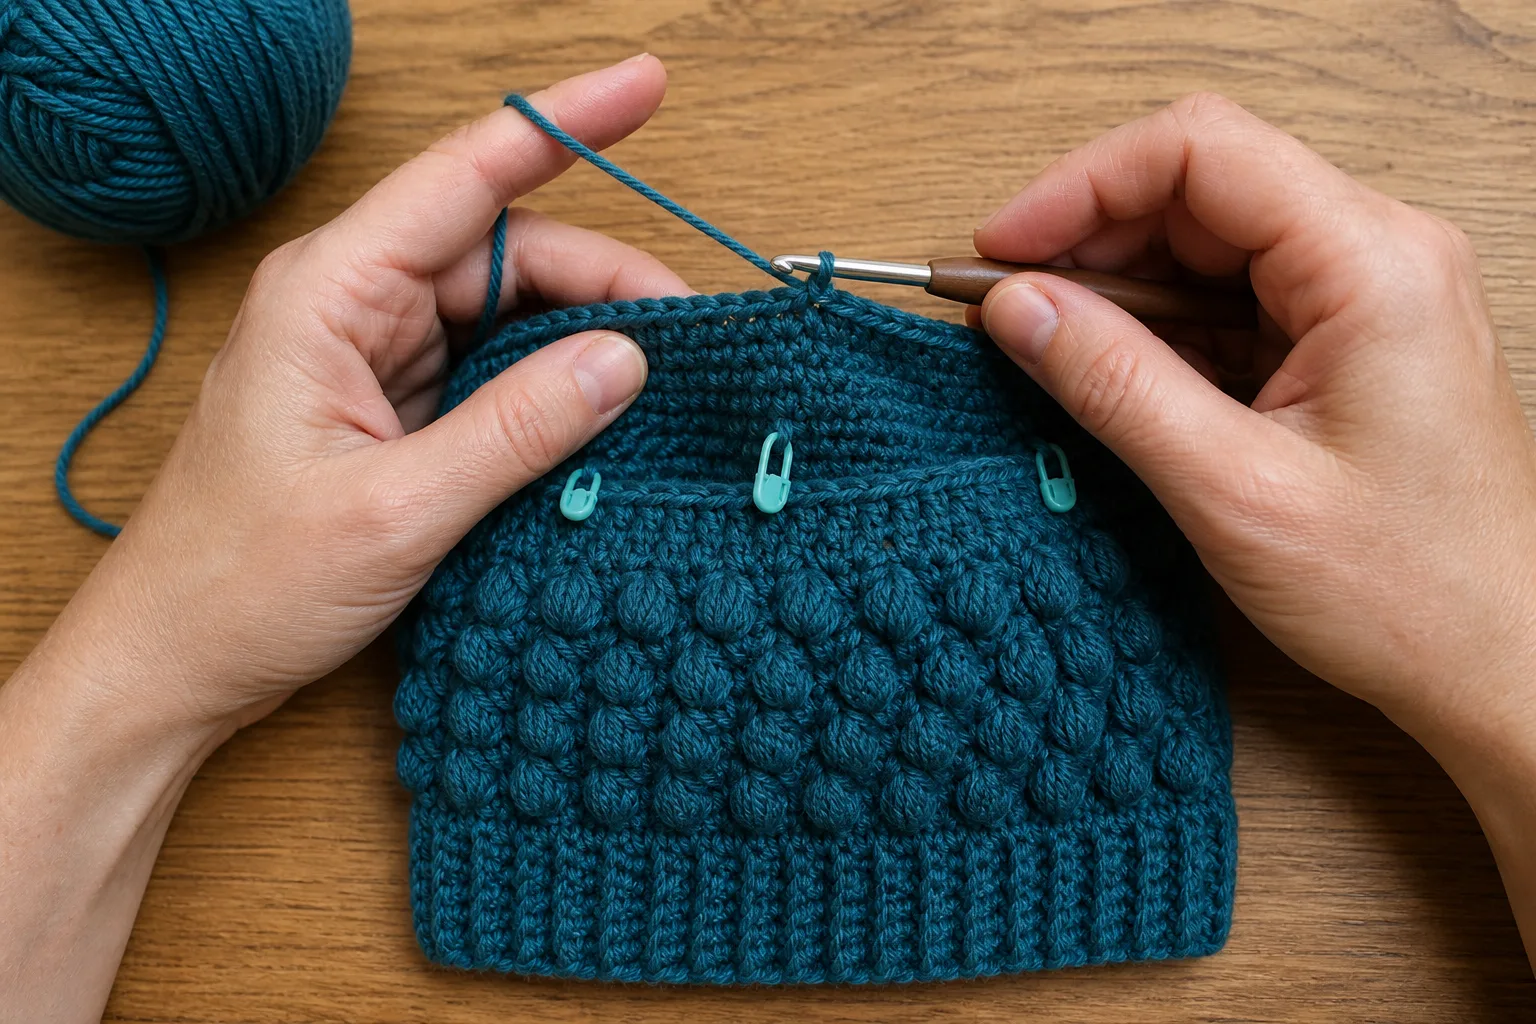
Rotate the band so you can work around its long row-end edge. Place four markers at quarter points.
Bridge round: work approximately one sc into each band-row end while changing evenly from A to B. Join with a slip stitch. — B sc.
For A = 68 and B = 72, add four increases, one within each marked quarter. Count the completed round. Do not continue until the total is exactly B.
Establish the Puff Modules
Puff Round 1: ch 1; *puff in the next stitch, ch 1, skip the next stitch*; repeat around. Join in the closing chain of the first puff, keeping the separate spacer chain visible. — M puffs and M spacer ch-1 spaces.
Puff Round 2: move to the first spacer with a slip stitch if needed; ch 1; *puff in the next spacer ch-1 space, ch 1*; repeat around. Join in the first puff’s closing chain. — M modules.
Repeat Puff Round 2 until R puff rounds are complete.
After two rounds, lay the body above the band without stretching. The puff edge should continue the band width rather than flare like a skirt or pull inward. A small visual difference from the raised texture is normal; a structural width change is not.
Stop at the Measured Crown Line
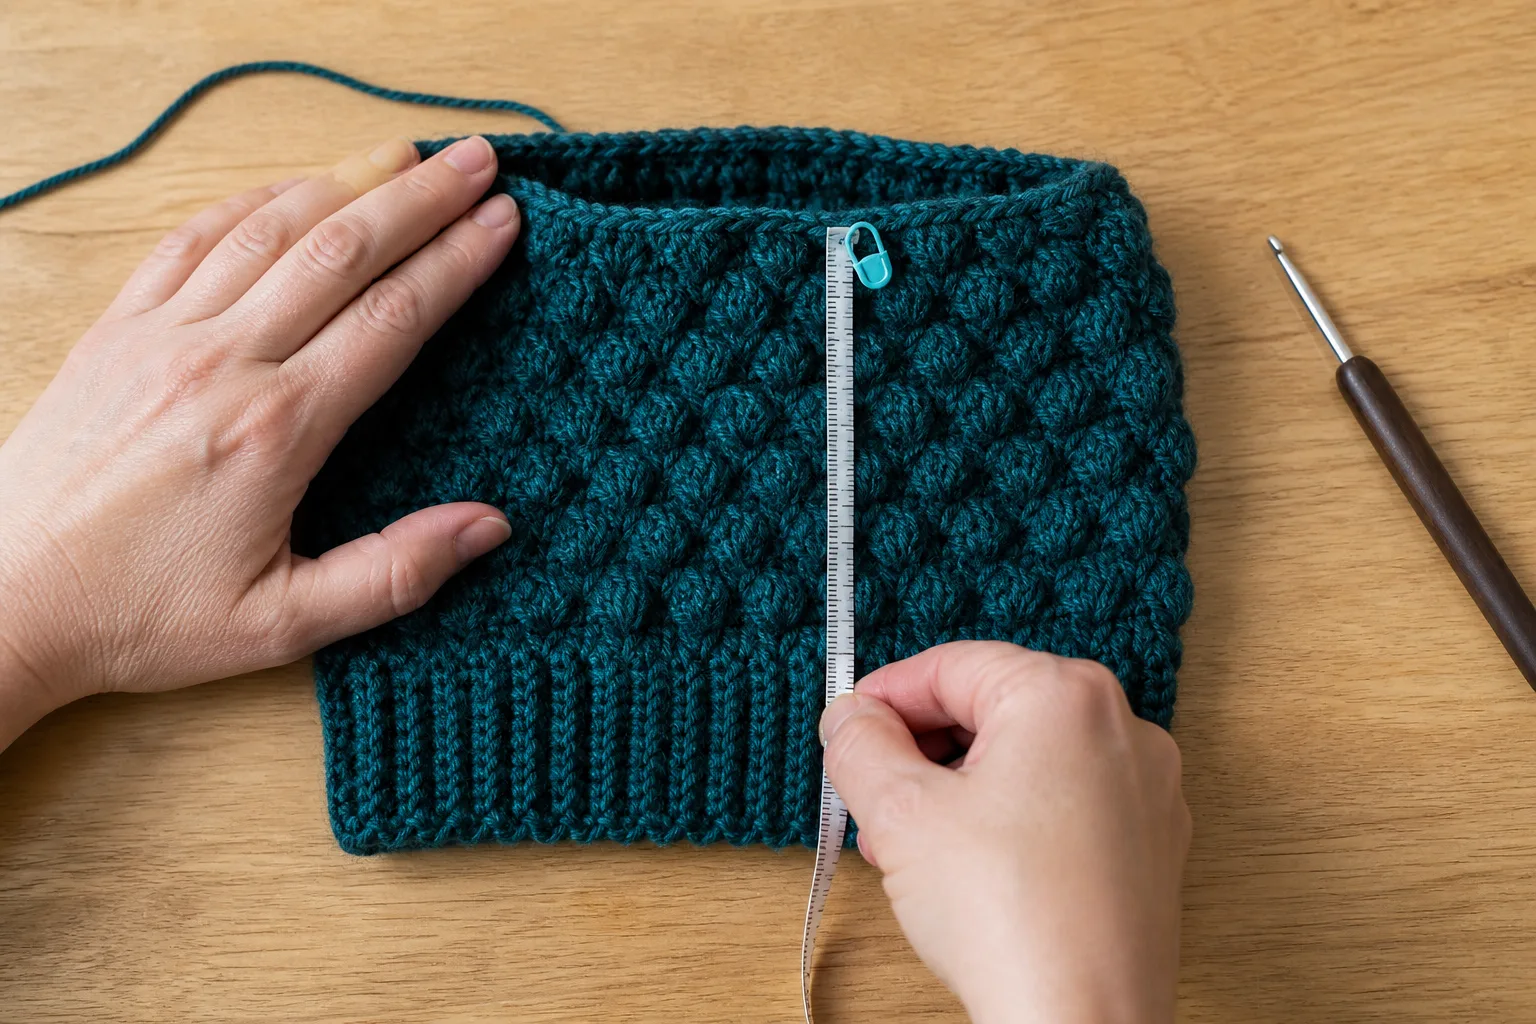
Measure from the lower edge of the band to the top of the puff field. Compare it with:
target total depth − reserved crown height
If the body is short by less than one full puff round, do not automatically add a tall round. Check how much the fabric changes after a gentle vertical stretch and compare with the washed swatch. If necessary, add one shorter plain transition round rather than overshooting with another complete puff row.
Transfer the Texture to a Smooth Crown
Transfer round: ch 1; work 1 hdc in the top/closing chain of each puff and 1 hdc in each separate spacer ch-1 space. Join. — B hdc.
Count this round carefully. Every module becomes two hdc stitches. Place 12 markers to divide the crown into equal sectors of B ÷ 12 stitches.
Decrease 12 Stitches per Crown Round
Let C be the stitch count at the beginning of the current crown round. The number of ordinary hdc stitches before each decrease is:
C ÷ 12 − 2
Work that many hdc, then hdc2tog; repeat the sector 12 times. The round removes 12 stitches, so recalculate from the new C on the next round. In the 72-stitch example, C begins at 72, then becomes 60, 48, 36 and 24; the ordinary hdc number therefore falls from 4 to 3, 2, 1 and 0.
For the 72-stitch example:
| Crown round | Repeat 12 times | End count |
|---|---|---|
| Transfer | 1 hdc in puff top, 1 hdc in spacer | 72 |
| Decrease 1 | 4 hdc, hdc2tog | 60 |
| Decrease 2 | 3 hdc, hdc2tog | 48 |
| Decrease 3 | 2 hdc, hdc2tog | 36 |
| Decrease 4 | 1 hdc, hdc2tog | 24 |
| Decrease 5 | hdc2tog around | 12 |
Move each sector marker upward as you work. The decrease should stay near the end of its sector instead of drifting around the crown.
Close and Finish
Cut a tail long enough to pass through all remaining stitches twice. Thread the tail through the front loop of each of the final 12 stitches, remove the markers and pull the opening closed gradually. Pass through the same loops again, secure on the inside and weave the tail through several directions without making a hard knot at the crown.
Wash and dry using the same method as the swatch. Shape the puffs with your fingers while damp; do not stretch the band wider than the measured opening.
Pass Four Physical Checkpoints
Checkpoint 1: Band Before Body
The joined band stays at the intended wear line for several minutes without pinching. If it slips, change A or the ease choice. If it presses uncomfortably, add rows. Do this before the bridge.
Checkpoint 2: Body After Two Puff Rounds
The puff field rises from the band without a hard inward draw or obvious flare. If it changes width by more than roughly 5%, stop and change the texture gauge or B. Do not wait for six rounds to confirm a problem already visible at two.
Checkpoint 3: Depth Before Crown
The distance from the lower band edge to the crown-start line equals the target total depth minus the reserved crown height. Check both the measurement and the wearer.
Checkpoint 4: Washed Finished Fit
The band returns after wear, the puff rows remain evenly spaced, the crown lies smooth without a bulky gathered knob, and the hat reaches the intended ear coverage.
Troubleshooting: Change the Variable That Caused the Problem
| Symptom | Likely cause | First correction |
|---|---|---|
| Puff body flares above the band | B is too large or modules are wider than the swatch | Stop after two rounds; reduce the body hook or recalculate B |
| Puff body pulls the band inward | B is too small or spacer chains are too tight | Recheck module width and relax only the spacer chain |
| Large holes appear between puffs | Loops are over-tall or spacer chains are loose | Match loop height to the swatch and tighten the separate spacer slightly |
| Puffs look flat or uneven | Drawn loops have different heights | Pause before closing and align every loop on the hook shaft |
| Hat becomes tall too quickly | Actual puff rounds are taller than the measured gauge | Remeasure the washed row height and reduce R |
| Crown forms a bulky knob | Puffy texture continued into a small gathered opening | Undo the crown and transfer to plain hdc before the decrease sequence |
| Crown is too shallow | Crown round gauge is shorter or tighter than planned | Add one plain hdc round before decreases, then remeasure |
| Join line looks like an extra gap | The first puff or spacer was placed inconsistently | Mark the first puff top and first spacer separately on the next round |
Do not correct circumference by changing height, or correct crown bulk by tightening the band. Trace the symptom to band count A, texture count B, puff rounds R or the crown gauge.
Frequently Asked Questions
Is a puff stitch the same as a bobble or popcorn?
No. A puff is made by drawing up several loops in one location and closing them together. Bobbles commonly group partially completed stitches, while popcorns usually join a group of completed stitches. Pattern definitions vary, so follow the special-stitch key rather than relying only on the stitch name.
Why must the puff-module count be a multiple of 6?
Each module converts to two plain crown stitches. A multiple of 6 modules therefore creates a multiple of 12 crown stitches, which supports 12 evenly spaced decreases per round and a predictable crown-height estimate.
Can I work continuous puff rounds?
You can, but the beginning of the round will spiral. For this module-based method, joined rounds make the closing chain, spacer and transfer count easier to verify. If you choose continuous rounds, mark the first puff and the first spacer independently.
Can I use a different number of yarn-over repetitions in the puff?
Yes, but it creates a different fabric. Make and wash a new swatch, measure its module width and round height, then recalculate B and R. Do not reuse the previous gauge.
What if my calculated B is not close to A?
Treat that as useful information. The band and texture do not currently belong in the same hat without a large transition. Change the puff hook, loop height or spacer tension and swatch again. Do not distribute a mismatch greater than 10% merely because the math produced a number.
How do I resize the hat for another adult?
Measure that wearer’s head at the intended wear line and repeat the same process. Reuse the pattern structure, not the example count. If the yarn, hook or puff definition changes, swatch again.
Keep a Reusable Project Record
Save these values with the finished hat: head circumference H, ease E, band count A, module count M, base count B, puff rounds R, both hook sizes and washed care method. That record is more reusable than the label “adult medium” because it explains how this particular fabric fit this particular wearer.