

Turn a circular crochet chart into the next stitch, the correct stitch count, and a clear checkpoint—without guessing at the join.
A crochet beanie pattern diagram can look like a dense wheel of lines, ovals and T-shaped symbols. The problem is rarely that every symbol is unfamiliar. The harder questions are practical: Where is the first real stitch? Does the beginning chain count? Which two symbols share one stitch below? When should the stitch marker move? What number should you have before starting the next round?
This guide answers those questions with one simple top-down practice model. You will learn to read the crown from the center outward, translate each ring into hand actions, verify the count, and stop an error before it changes the hat shape. The interactive Round Decoder also creates the stitch-count ledger for you; there is no blank worksheet to fill in.
Crochet Beanie Diagram Round Decoder
Open the tool in a separate page. The article also retains the manual formulas and worked checks.
JavaScript is optional: use the manual calculation method and worked examples in the article.
Quick answer: read every round in five passes
Do not try to understand the whole chart at once. Read only one ring and use this five-pass method:
- Locate: Find the center, the current round number, the reading direction and the end-of-round method.
- Translate: Use the chart key to turn the symbols in that ring into stitches and repeats.
- Act: Follow the base of each symbol to see which stitch or space receives the hook.
- Verify: Count the real stitches and compare the result with the expected total.
- Mark: Move the first-stitch marker only after the count is correct.
For the practice chart in this guide, Round 1 contains 8 half double crochets. Every growth round adds 8 stitches, so the counted totals are 8, 16, 24, 32, 40 and 48. The beginning chain and the slip-stitch join do not count in this particular practice model.
That last sentence matters. Another designer may count a beginning chain as a stitch. Always let the pattern key and pattern notes decide; never import a chain-count rule from a different pattern.
What this guide solves that a symbol list does not
A standard symbol reference tells you that an oval means a chain or that a T shape can represent a half double crochet. That is useful, but it does not finish the translation.
To work a beanie crown, you must also know:
- which ring you are reading;
- which direction you travel;
- where each symbol is anchored in the previous round;
- which symbols create an increase;
- whether the round is joined or continuous;
- whether setup chains are counted;
- the expected stitch total;
- when a flat crown stops growing and becomes the hat body.
The position of a symbol is part of the instruction. If two stitch symbols rise from the same stitch top in the previous ring, both stitches go into that one base stitch. That is an increase. If separate symbols sit over separate stitch tops, work one stitch into each base stitch.
The four zones of a top-down beanie diagram
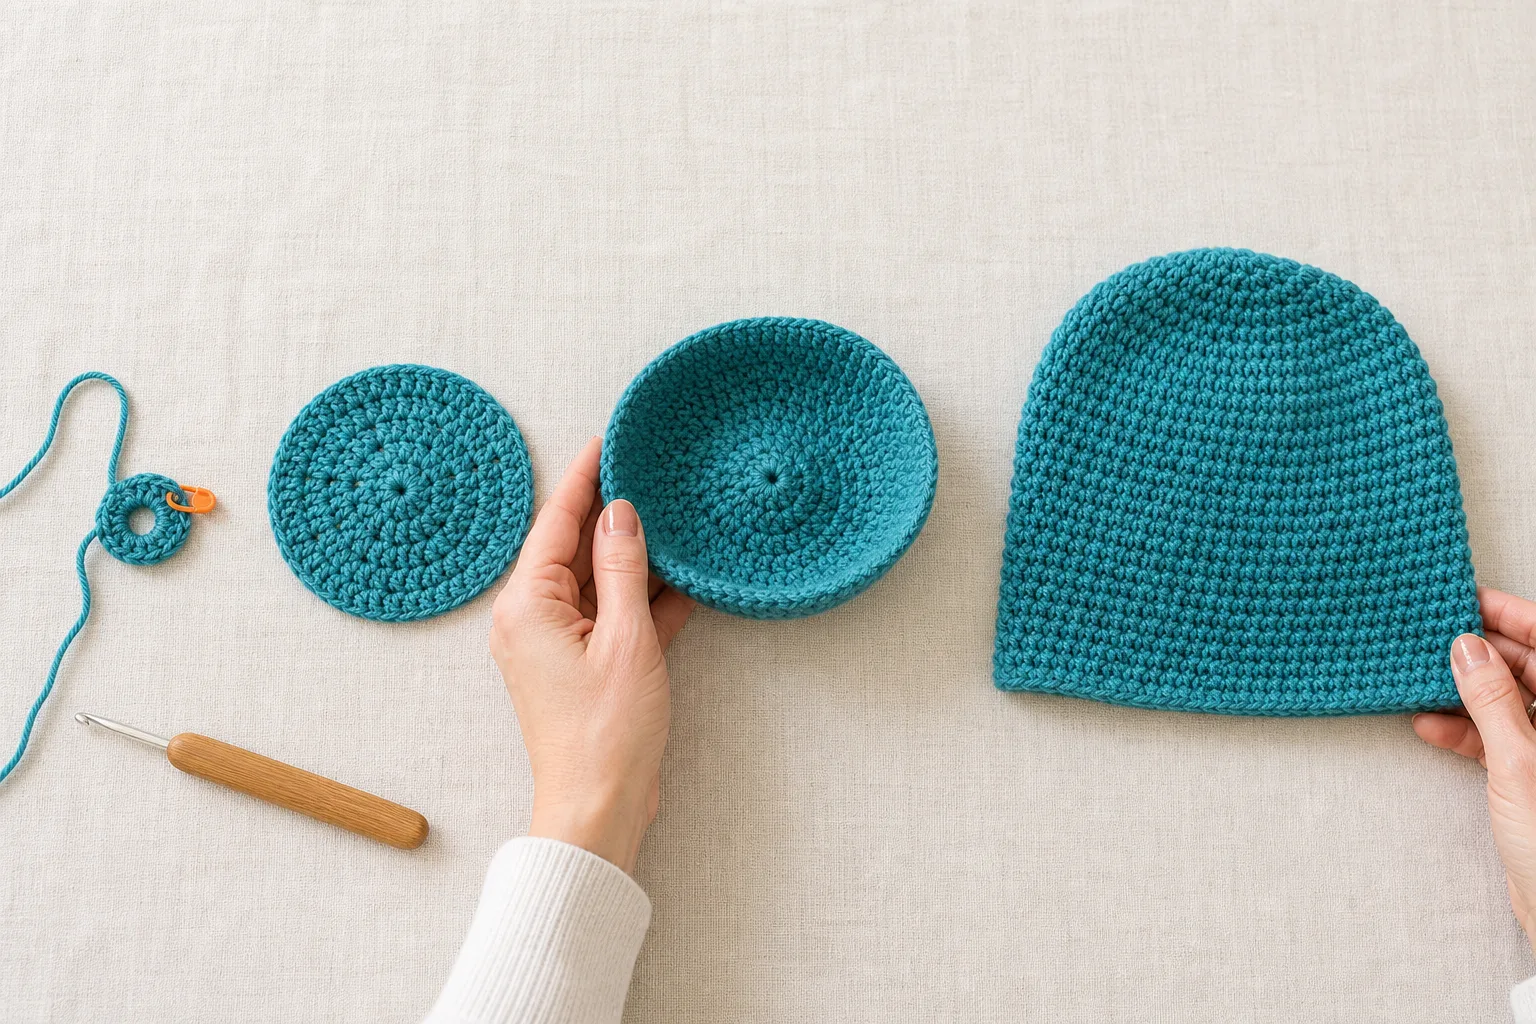
Before reading individual symbols, identify which construction zone you are in.
- Start: The center ring establishes the number of growth sectors. Count every real stitch before closing or continuing.
- Crown: Each new ring adds planned increases. This is where the diagram controls whether the top stays flat, cups or waves.
- Transition: The first no-increase round changes the job from making a wider circle to building downward depth.
- Body and lower edge: Even rounds add length. The final rounds may add ribbing, texture or a firmer wear line.
This map prevents a common misunderstanding: a round that contains no increases is not “missing something.” It may be the deliberate transition from crown to body.
The minimum symbol key for this practice
You do not need to memorize an entire crochet symbol dictionary before beginning. For this practice, identify only the symbols that appear.
| Chart mark | US term | What your hand does | Count rule in this practice |
|---|---|---|---|
| Small oval | chain (ch) | Yarn over and pull through the loop on the hook | Beginning ch does not count |
| Small dot or short join mark | slip stitch (sl st) | Pull yarn through the target stitch and the loop on the hook | Join does not count |
| T-shaped stitch symbol | half double crochet (hdc) | Yarn over, insert, pull up a loop, yarn over and pull through all three loops | Counts as 1 stitch |
| Two hdc symbols sharing one base | increase (inc) | Work 2 hdc into the same stitch top | Counts as 2 stitches; adds 1 |
The Craft Yarn Council publishes standardized crochet chart symbols, but it also advises readers to check the individual pattern key for additional definitions. Small drawing differences are possible, especially for special stitches, joining marks and starting rings.
Find four clues before you put the hook in the yarn
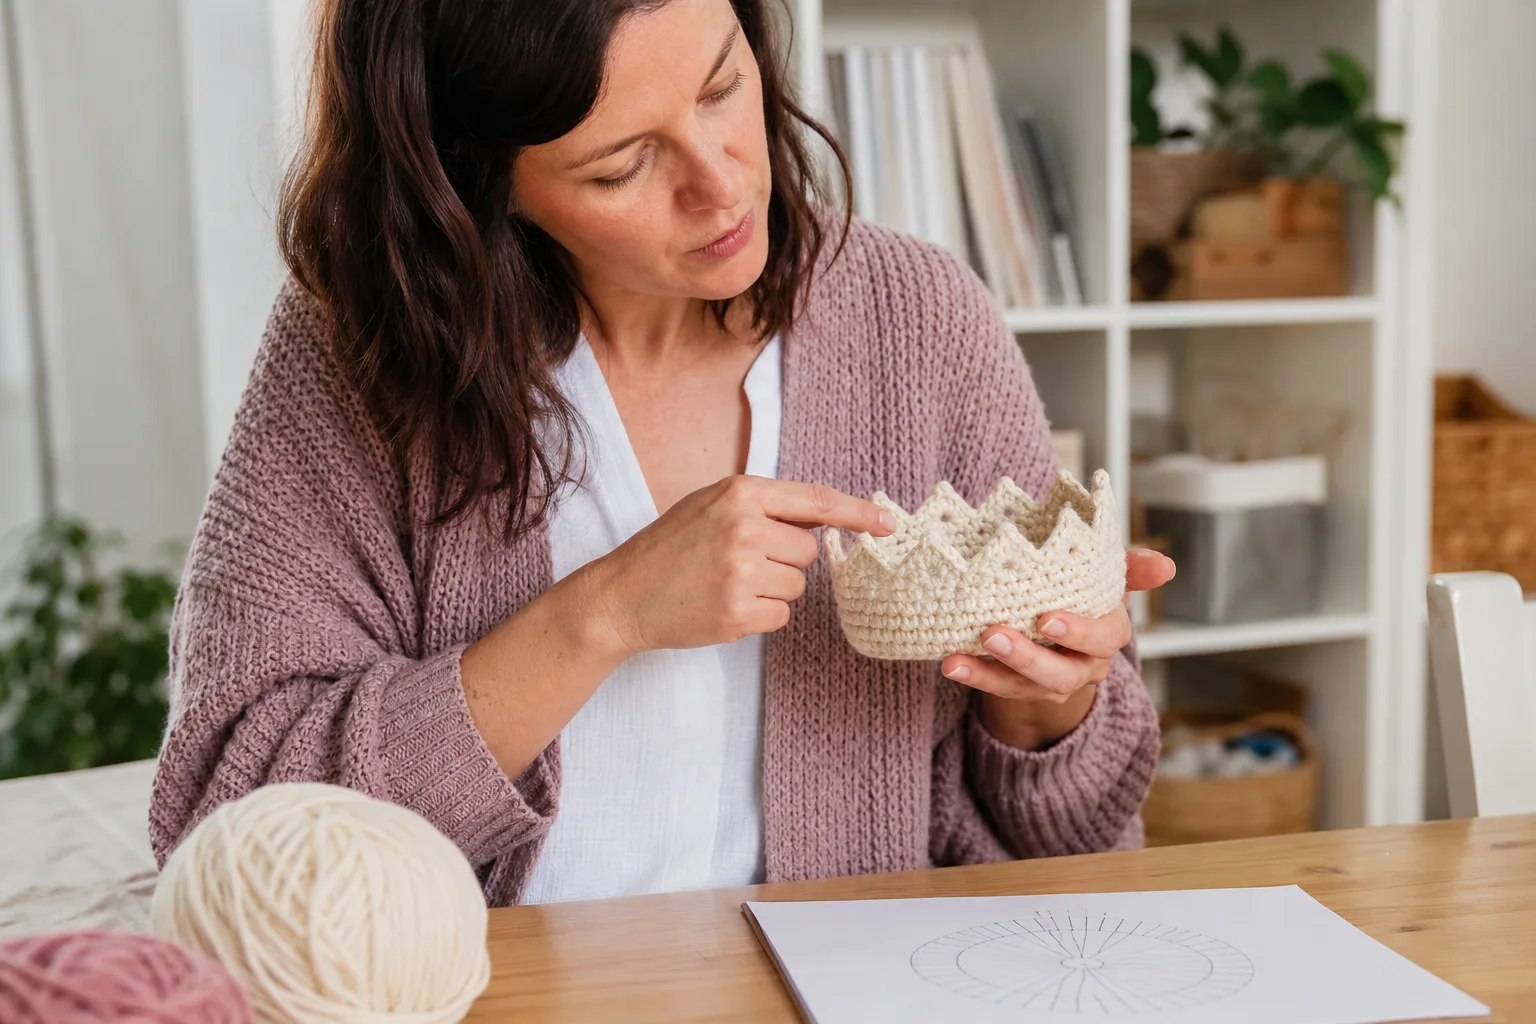
1. Find the center and Round 1
A circular top-down chart begins at the center. Look for a magic-ring mark or a short chain ring, then find the first ring of actual stitch symbols around it. Do not begin on the largest outer circle simply because it is easiest to see.
2. Find the travel direction
Most right-handed circular charts are followed counterclockwise. A left-handed crocheter normally works the same stitch sequence clockwise. Round numbers or arrows may make the direction explicit.
Direction changes the path, not the arithmetic. A Round 4 that should contain 32 counted stitches still contains 32 for either hand.
3. Find the end-of-round method
Look for a slip-stitch join at the end of each ring, a clear seam line, or pattern text that says “join.” If there is no join and the path flows directly into the next ring, the chart may represent continuous rounds.
4. Find the chain-count note
The chart may show a beginning chain without telling you whether it replaces the first stitch. The written note or key must answer that. If it does not, the chart is incomplete; do not guess from the symbol alone.
Joined rounds and continuous rounds are different reading problems
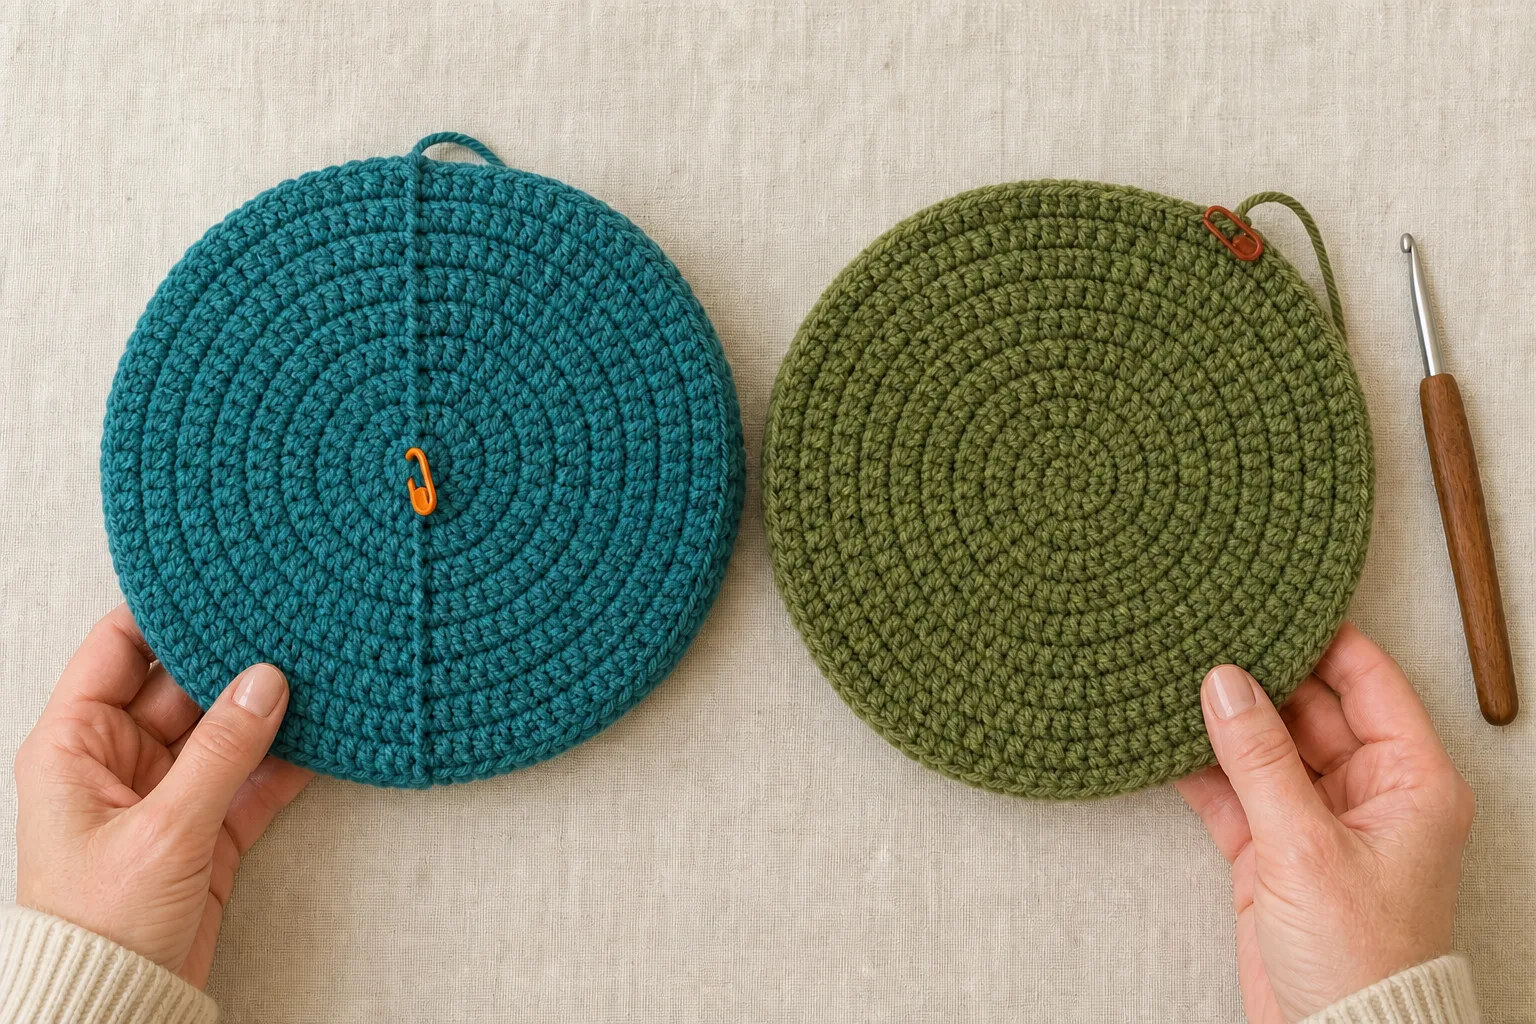
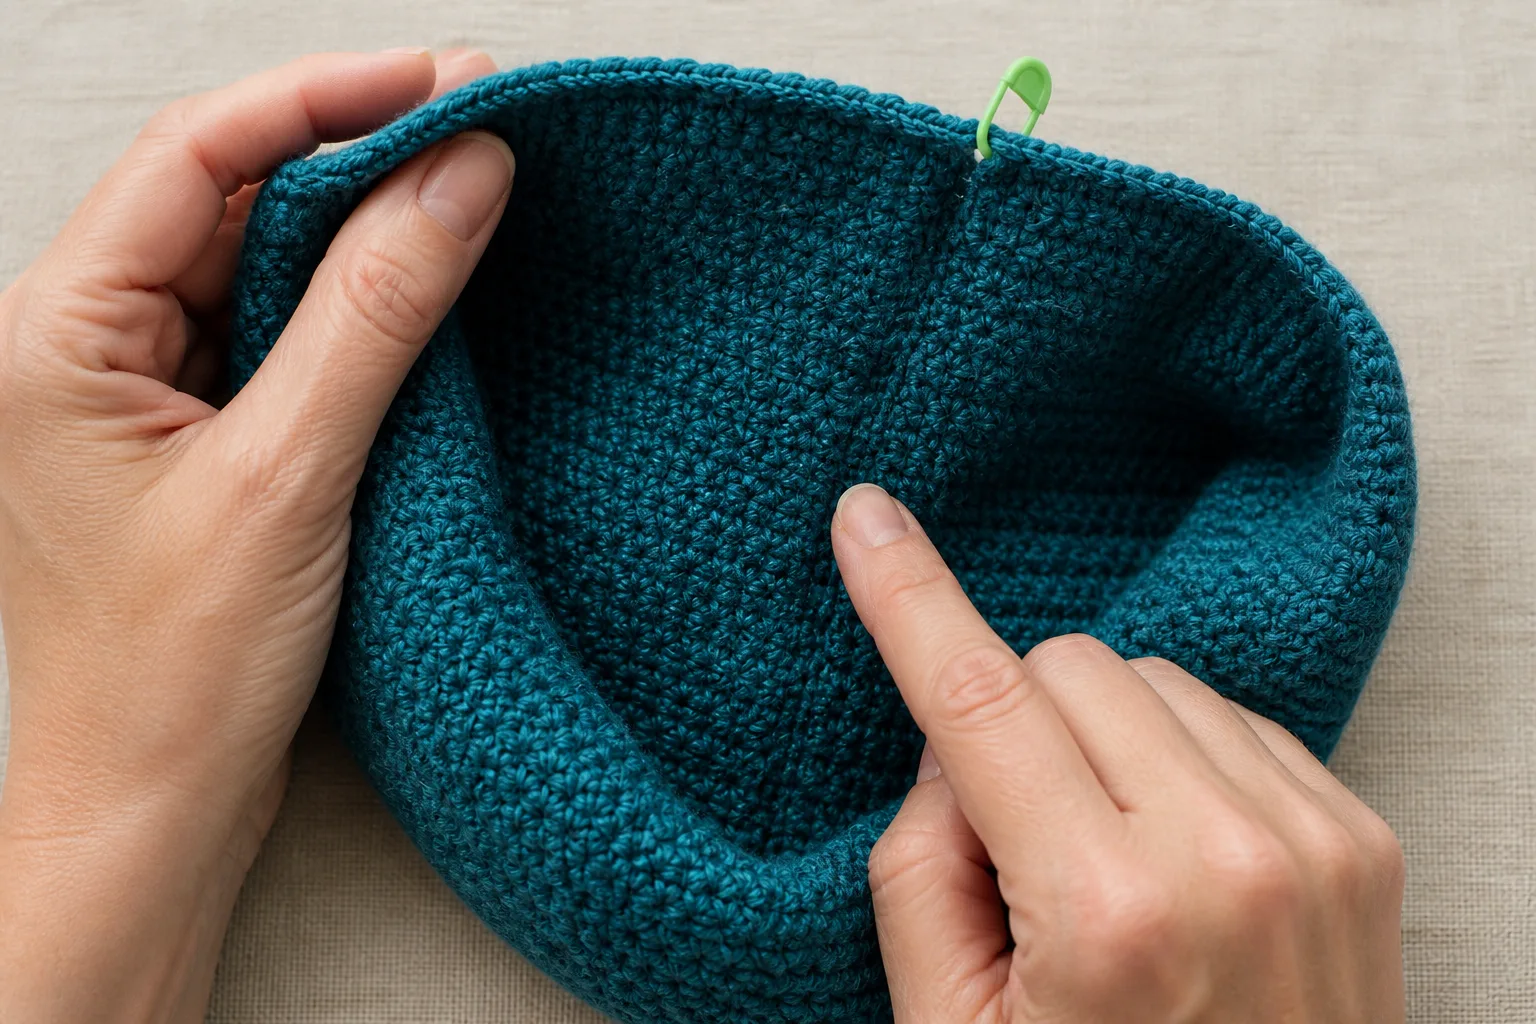
Joined rounds
At the end of a joined round, you close the ring where the pattern directs, often with a slip stitch to the first real stitch or to the top of a counted beginning chain. The next round then begins with the stated setup chain.
For a practice pattern in which the beginning chain does not count:
- Make the first real hdc and mark it.
- Work the complete round.
- Mark the last real hdc if the join is hard to see.
- Slip stitch to the marked first real hdc.
- Make the beginning chain.
- Work the first hdc of the next round where the instructions direct.
Do not work into the slip-stitch join or the non-counted beginning chain. They may look like stitch tops at the seam, which is why two markers are useful while learning.
Continuous rounds
Do not close a continuous round. Work the next stitch directly into the next base stitch, then move the marker into the first stitch of the new round. Count when you return to the marker.
A continuous round forms a spiral, so the start of the newest round sits slightly higher than the end of the previous round. That is expected. Do not add a slip stitch merely to make the edge look level unless the pattern tells you to change methods.
Round 1: mark the first real stitch, not the setup
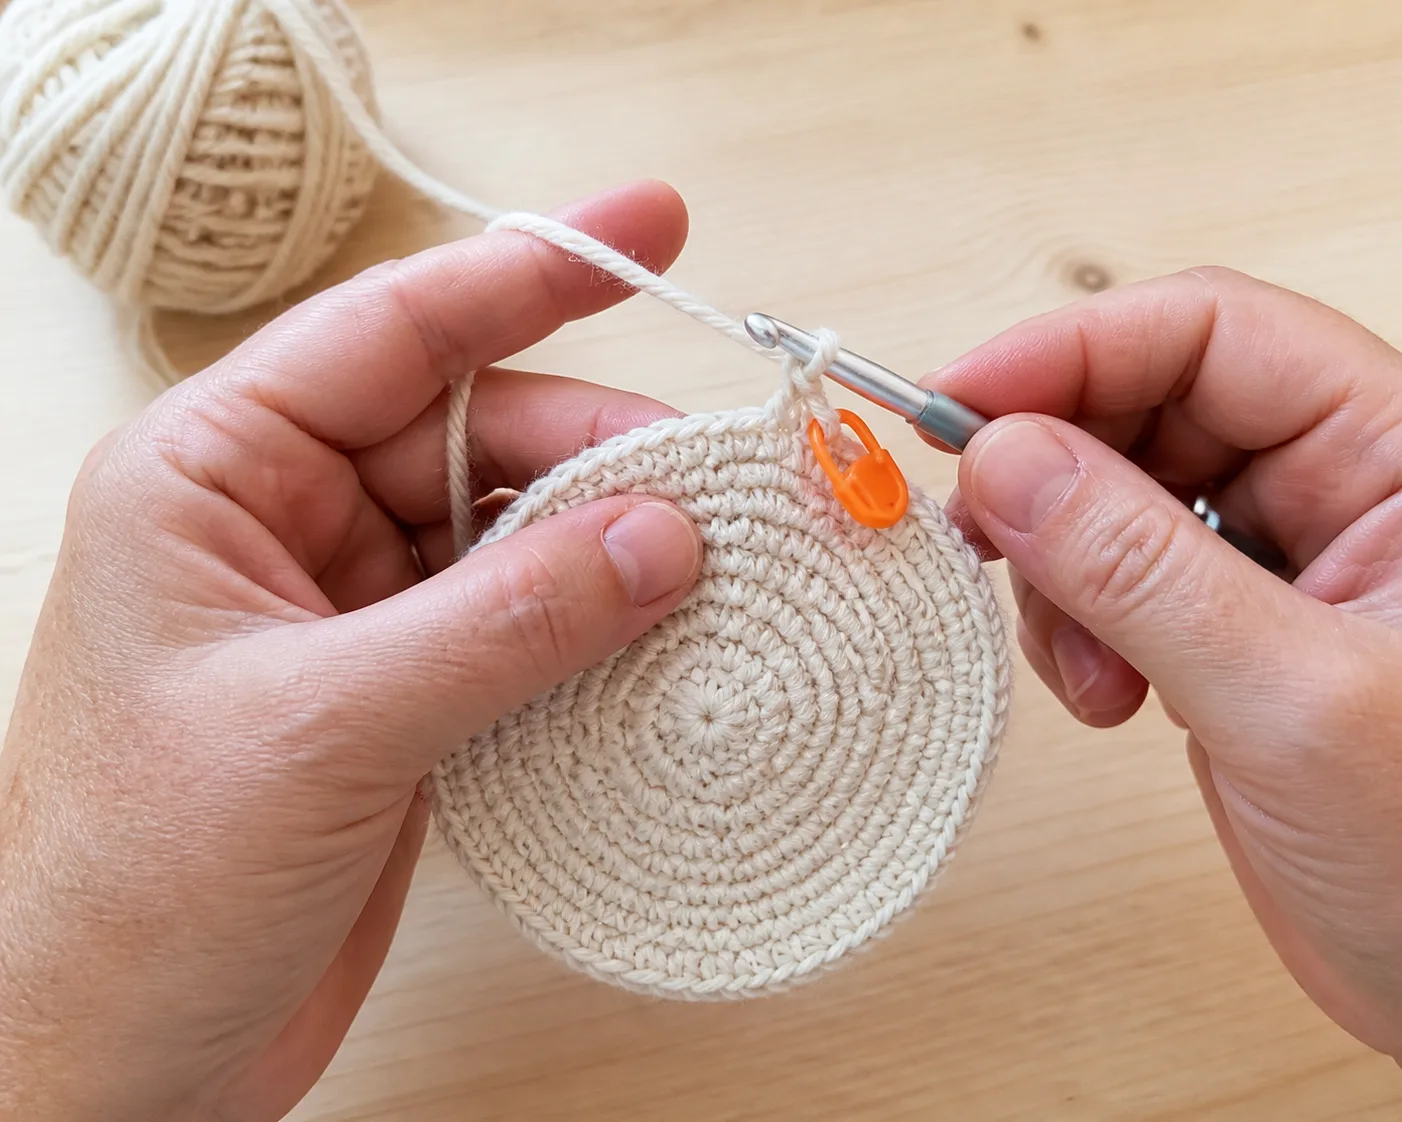
Use the center ring shown by the chart. For the practice model:
- Make a magic ring or the stated chain ring.
- Chain 1 for height; this chain does not count.
- Work 8 hdc into the ring.
- Clip a locking marker into the top loops of the first hdc.
- Count 8 V-shaped stitch tops, not the loop on the hook and not the beginning chain.
- If using joined rounds, slip stitch to the marked first hdc.
The marker belongs in the completed stitch top, not around the post and not in the working loop. You need to be able to insert the hook under that stitch top again at the end of the round.
Rounds 2–4: translate one ring into a repeat
The practice chart uses 8 growth sectors. Every growth round contains 8 increases.
| Round | What the ring means | Count before | Added stitches | Count after |
|---|---|---|---|---|
| 1 | 8 hdc in the center | 0 | 8 starting stitches | 8 |
| 2 | inc in every stitch | 8 | 8 | 16 |
| 3 | [hdc in next st, inc] × 8 | 16 | 8 | 24 |
| 4 | [hdc in next 2 sts, inc] × 8 | 24 | 8 | 32 |
An increase does not mean “add two” to the total. You work two new stitches into one old stitch. One old stitch would normally produce one new stitch; producing two adds one net stitch. Eight increases therefore add eight stitches.
Use the interactive Crochet Beanie Diagram Round Decoder
Use the interactive decoder above with the complete example—8 hdc in Round 1, 8 increases per growth round, joined rounds, right-handed, Round 4—and it immediately shows 32 counted stitches.
The user can change:
- single crochet, half double crochet or double crochet;
- Round 1 counted stitches;
- planned increases per growth round;
- the round to decode;
- joined or continuous rounds;
- right- or left-handed reading;
- whether the beginning chain counts as a stitch.
The result supplies the current total, the previous-round total, the number of ordinary stitches, the number of increases, an evenly distributed action line, reading direction, marker instruction and a completed Round 1-to-current-round ledger. Nothing is left blank for the visitor to calculate by hand.
The interactive decoder uses this transparent count model:
It is a diagram-reading tool, not a universal hat-size formula. A designer may deliberately change the increase rate to make a pointed, oval or sculpted crown. For actual circumference and stopping diameter, use your washed gauge, the wearer’s head measurement and the fit method in the gauge-adaptive beanie guide.
Round 4 worked completely: look, translate, hook, count
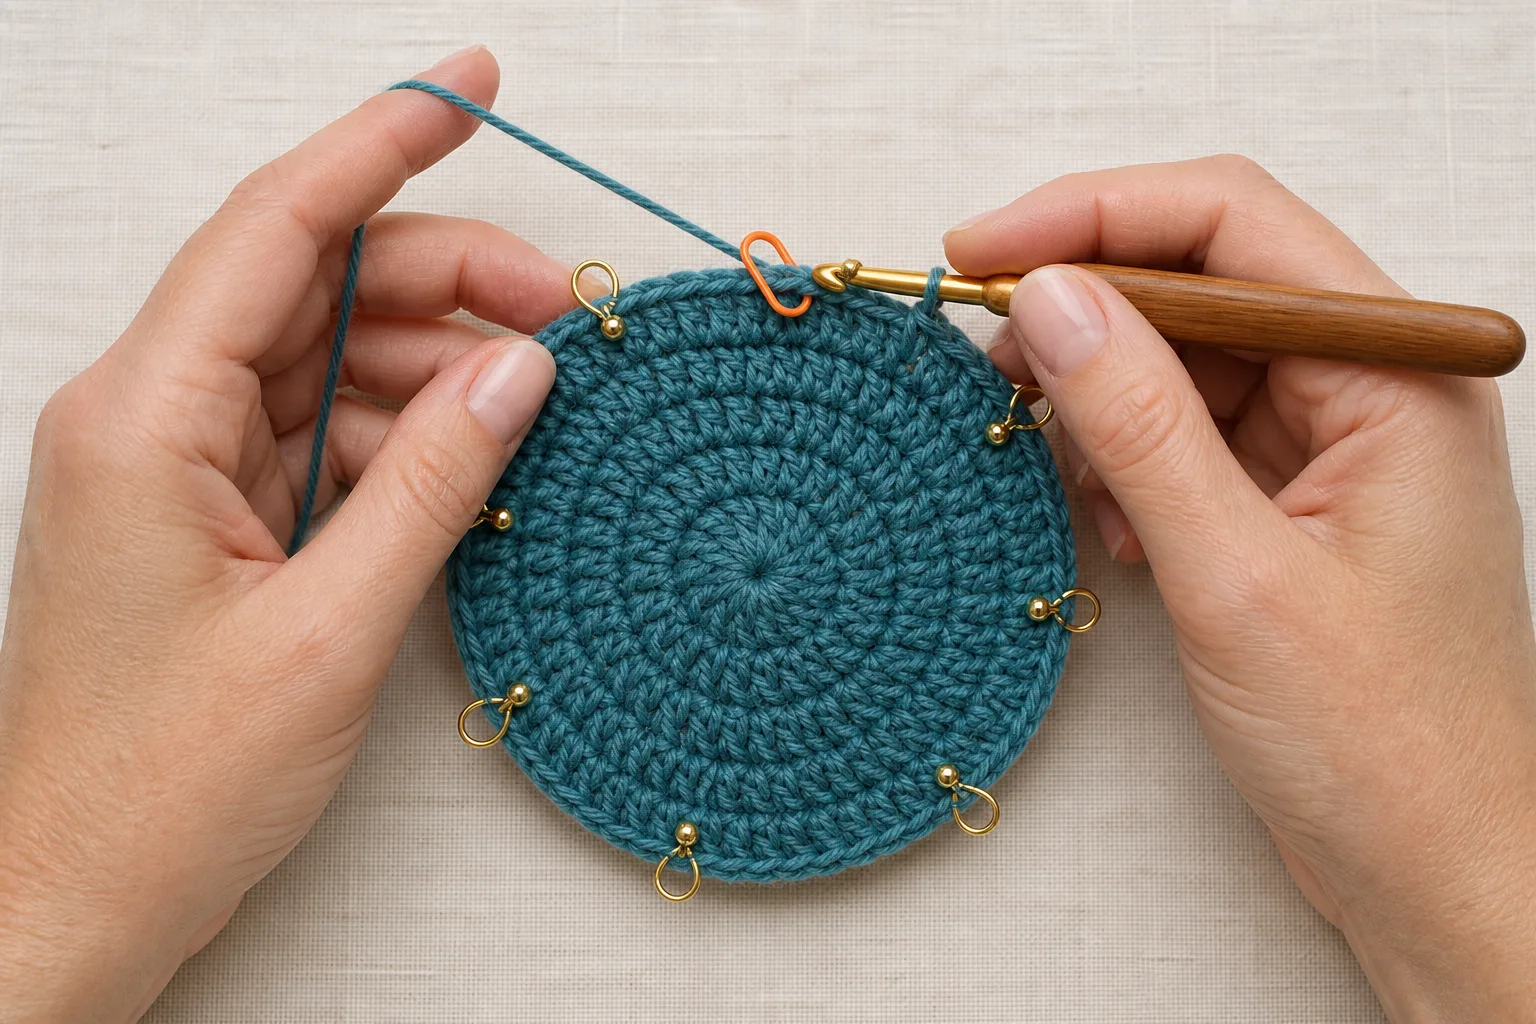
Suppose the diagram shows 8 identical sectors in Ring 4. Each sector contains two ordinary hdc symbols followed by two hdc symbols that share one base stitch.
Look
Trace only Ring 4. Ignore Rings 1–3 except when following a symbol down to its base stitch. Locate the first real hdc and the end-of-round join.
Translate
One sector becomes:
The complete round becomes:
Hook
Work one hdc under each of the next two V-shaped stitch tops. In the third V-shaped stitch top, work two hdc. Both increase stitches share the same insertion point.
Count
Each sector produces 4 new stitches: 2 ordinary hdc plus 2 hdc from the increase. Eight sectors produce 32 counted stitches.
If you count 31 or 33, stop. Do not start Round 5 and hope the difference disappears.
Follow the base of the symbol to know where the hook goes
In a circular chart, the symbol’s top shows the stitch you are making; its base shows where that stitch attaches.
- One symbol centered above one stitch top means one new stitch in that base stitch.
- Two symbols sharing the same base mean two new stitches in one base stitch—an increase.
- A symbol placed over a chain-space opening means work into that space, not into a neighboring stitch top.
- A long connector or post symbol may indicate work around a post; check the key before inserting the hook.
Do not treat empty white space as a stitch. The chart is a map of connections, not a photograph at exact scale.
Use two markers until the joined seam becomes obvious
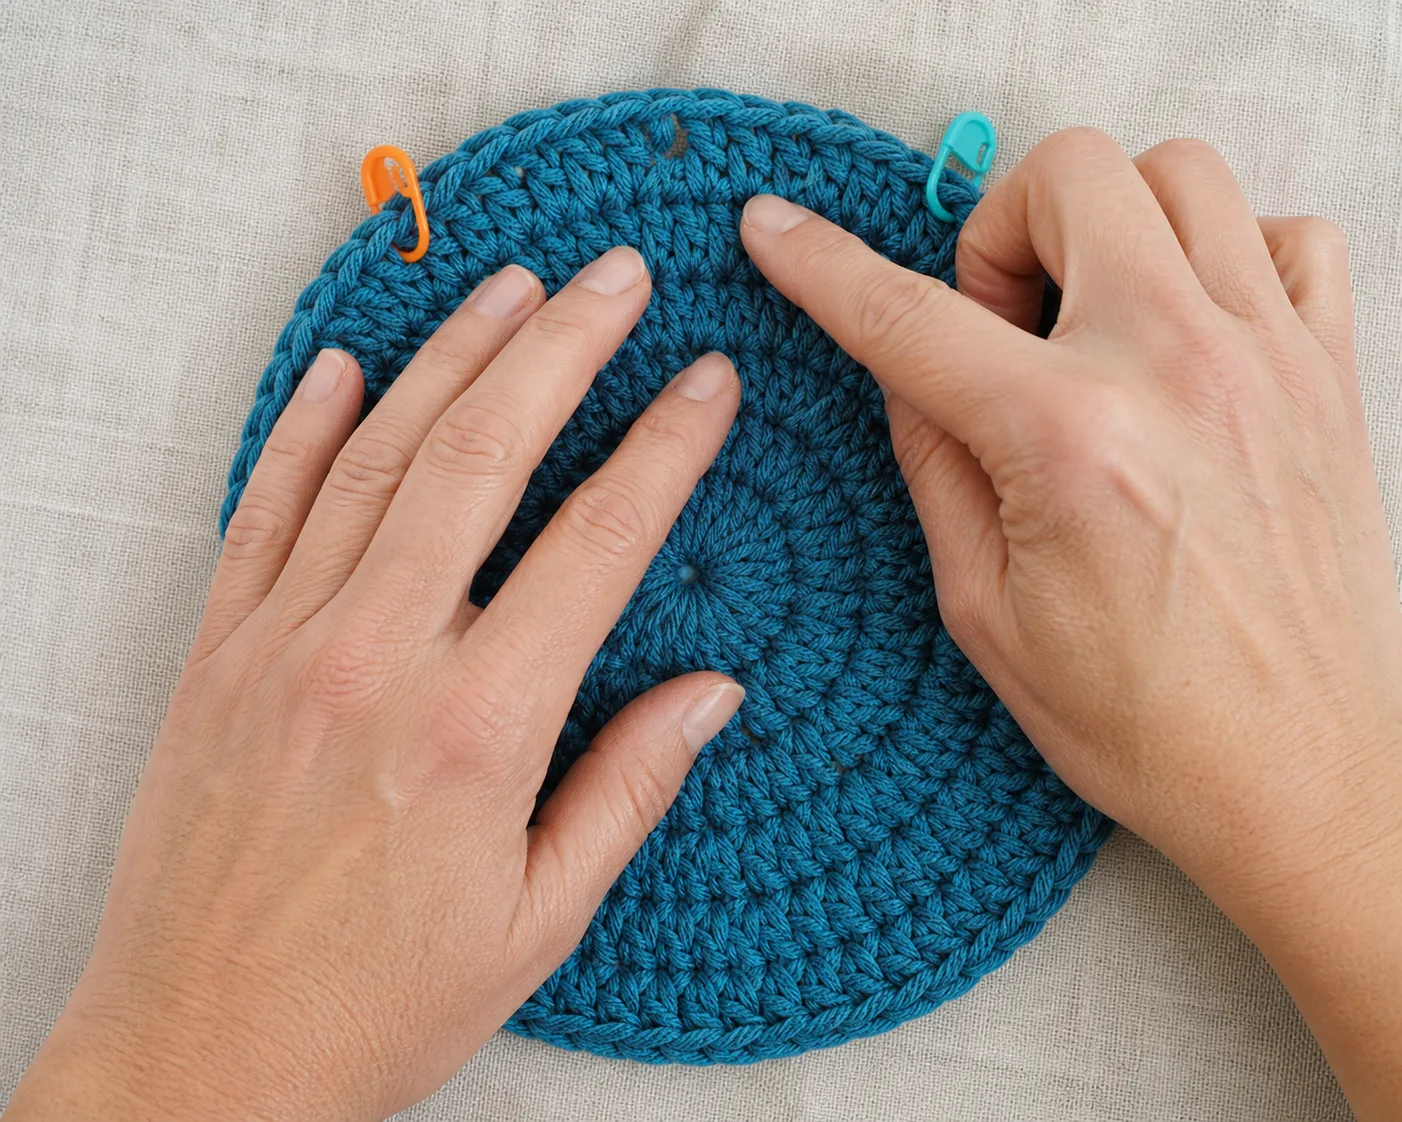
One marker identifies the first real stitch. A second marker in the last real stitch creates a visible boundary around the setup chain and slip-stitch join.
When you reach the seam, you should see:
This prevents the two most common count leaks:
- working one extra stitch into the join or beginning chain;
- skipping the first or last real stitch because the join looks like part of it.
After several correct rounds, you may keep only the first-stitch marker if you can identify the seam reliably.
Left-handed reading: mirror the path, not the count
A left-handed crocheter will normally move clockwise around a circular chart. The symbol order within the repeat and the expected stitch total do not change.
For the Round 4 practice:
- right-handed path: counterclockwise, [2 hdc, inc] × 8;
- left-handed path: clockwise, [2 hdc, inc] × 8;
- both results: 32 counted stitches.
If a chart contains an asymmetrical cable, post-stitch crossing, lettering or a directional motif, use the designer’s left-handed notes. Simple evenly spaced beanie-crown increases can usually be mirrored without changing the repeat.
Recognize the crown-to-body transition
During crown growth, the expected total increases. When the chart reaches the target crown size, the next ring may show one ordinary stitch in every stitch with no paired symbols. The count stays the same.
For example:
Round 7 begins the body. After one or two even rounds, the flat circle should start turning downward. Measure the physical crown and fit; do not assume that a specific round number fits every head, yarn or gauge.
Read the fabric as well as the diagram
A count can be correct while the shape is wrong for your materials. Lay the crown down without stretching after every growth round.
- Flat or gently cupped: continue and recheck after the next round.
- Ruffled edge: the fabric is gaining circumference faster than the stitch height can support. Confirm that you did not add extra increases or count the join.
- Sharp bowl or point: confirm that every planned increase was made and that the center contains the stated starting stitches.
- Smooth count but wrong diameter: your personal gauge differs. Use the crochet hat size and stitch calculator to decide when to stop increasing; do not change the chart count randomly.
The diagram tells you the intended stitch relationships. Your actual fabric tells you how those relationships behave with your hook, yarn and tension.
Stitch-count error fingerprints
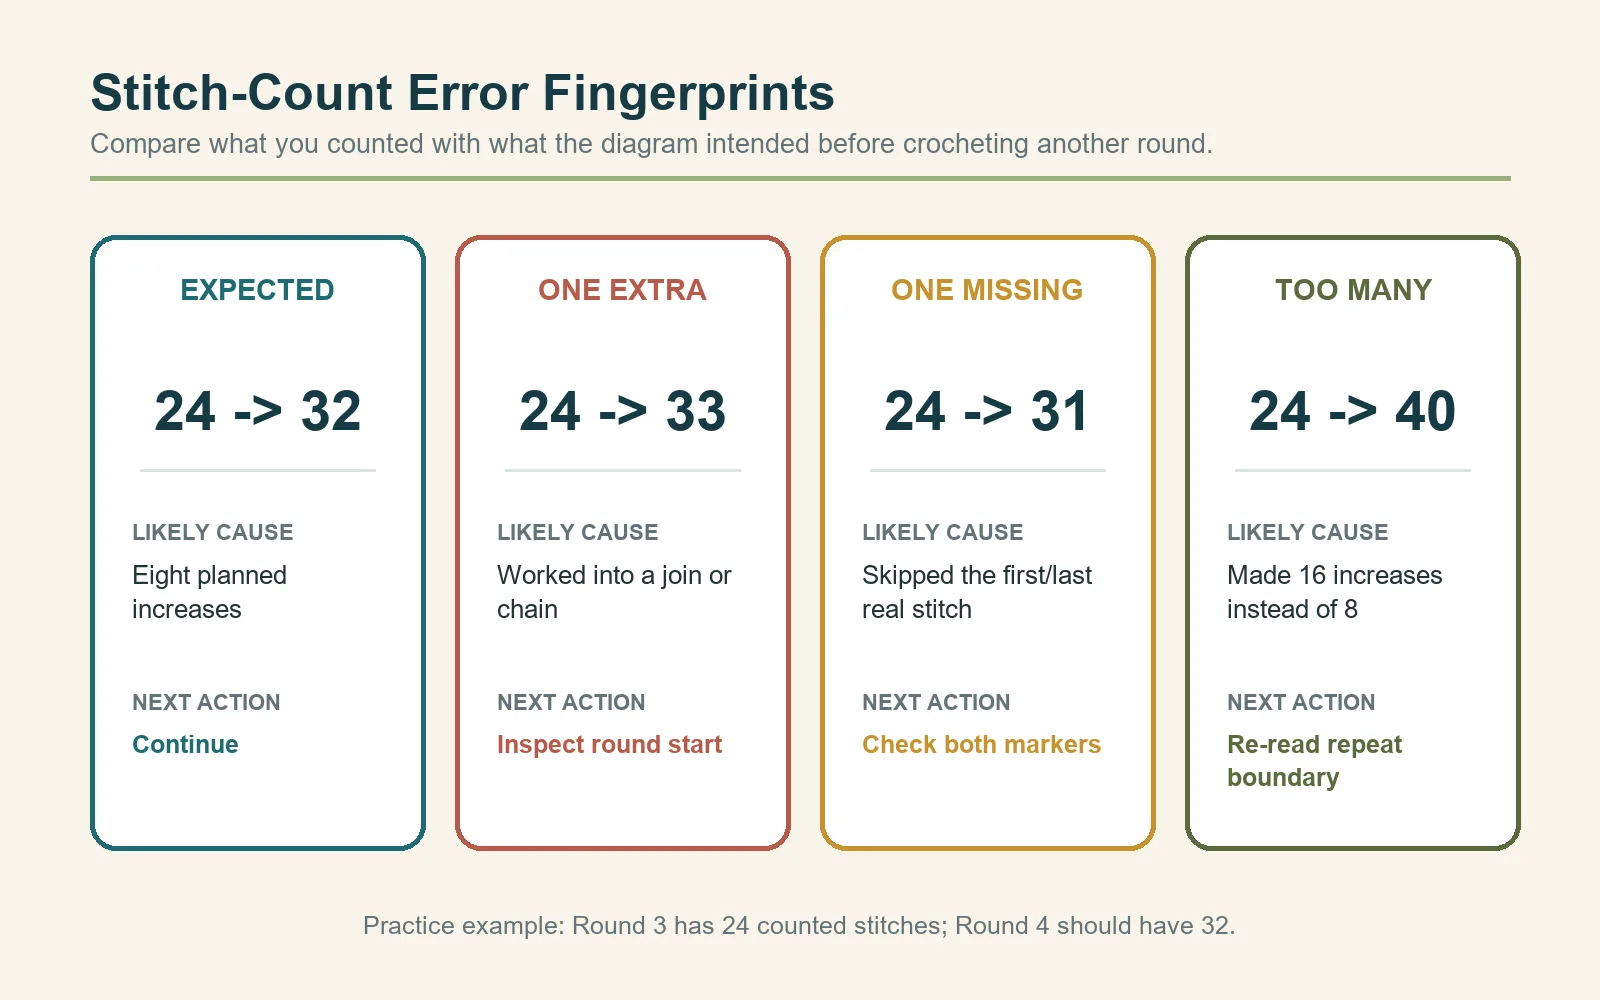
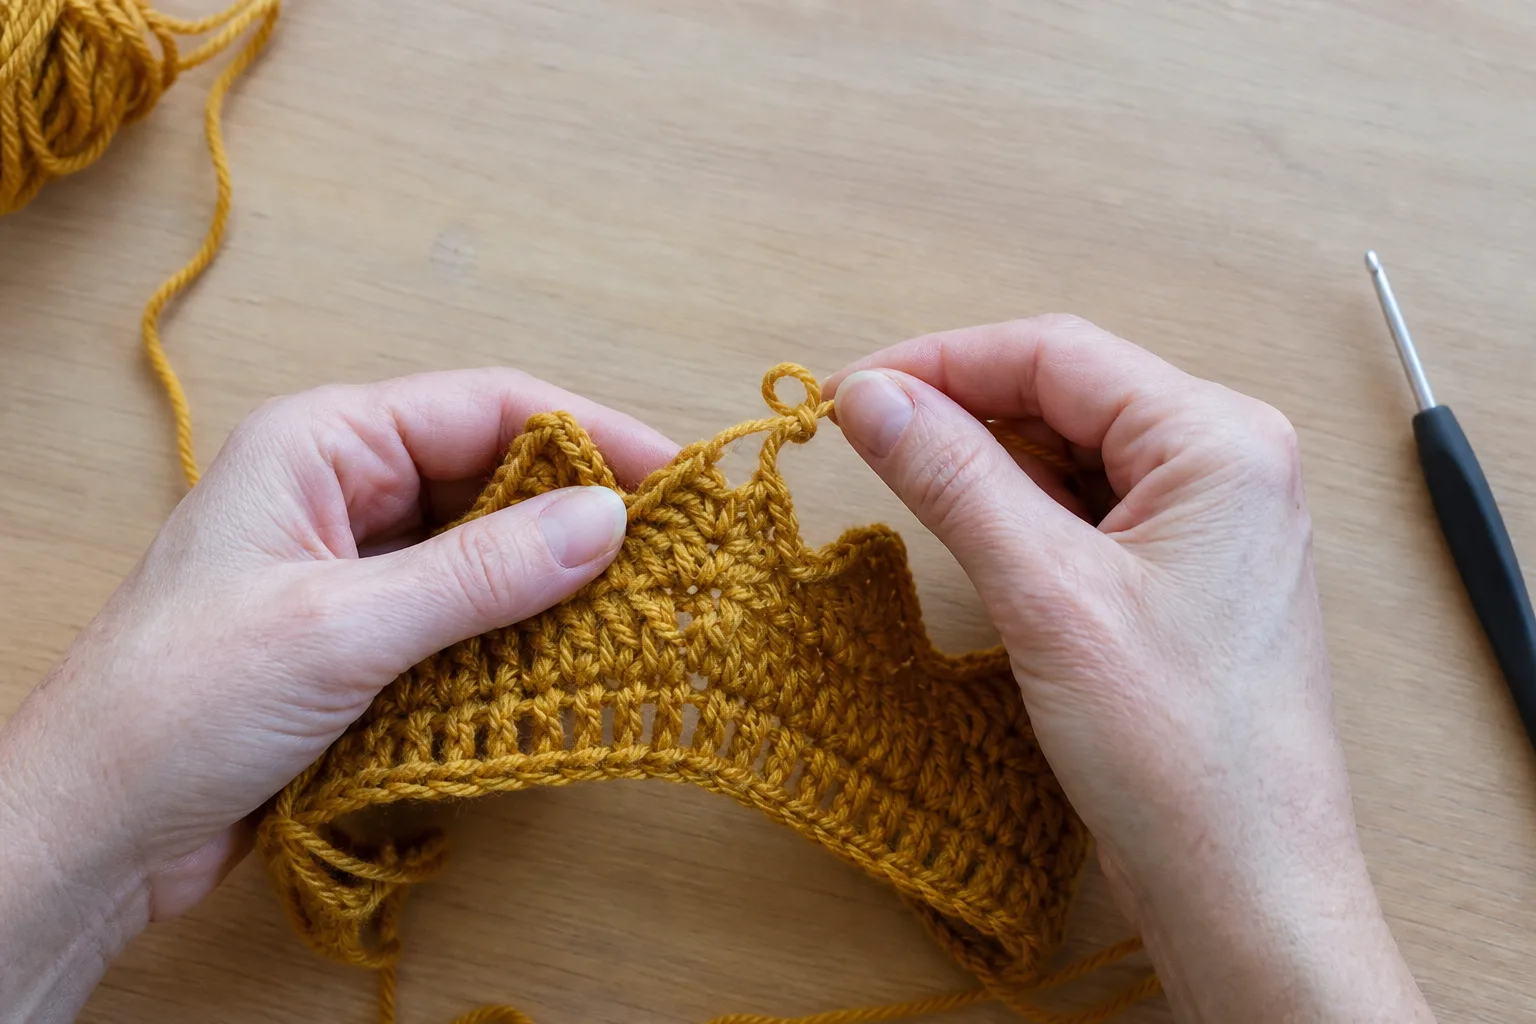
In the Round 4 practice, Round 3 has 24 stitches and Round 4 should have 32.
| What you count | Most likely reading error | First place to inspect |
|---|---|---|
| 32 | The count matches the eight planned increases | Check fabric shape, then continue |
| 33 | One join or non-counted chain was treated as a stitch | Between the first- and last-stitch markers |
| 31 | The first or last real stitch was skipped | Both sides of the join |
| 40 | Two increases were made in each sector or the repeat boundary was doubled | Compare one sector with the chart |
| 24 | No increases were made | Find the paired symbols sharing one base |
| Count changes every repeat | A chain space or join is being interpreted inconsistently | Re-read the key and mark one full repeat |
When the count is wrong, isolate one sector. If one sector should produce 4 stitches, count only those 4 and mark the end of that sector. Repeat the same verified action around the crown.
When the diagram is unclear or may contain an error
A chart should not force you to invent missing instructions. Stop before crocheting the uncertain round and collect four pieces of evidence:
- Key evidence: Does every symbol used in the chart appear in the legend?
- Join evidence: Is the round joined, continuous or turned?
- Count evidence: Does the new total equal the previous total plus the net effect of all increases and decreases?
- Photo evidence: Does the stated construction match the finished object—flat crown, tube, ribbed rectangle or another method?
If one item is missing, check the written notes, pattern errata or designer support. If the chart and written count disagree, do not choose whichever is more convenient. Record the exact round, your previous count, the symbols you see and the total they mathematically produce.
For example:
That description makes the conflict precise and easy to verify.
A short practice lab before using a full chart
Use scrap yarn in a light color so stitch tops are visible. Work only four rounds.
- Round 1: 8 hdc in the center; count 8.
- Round 2: increase in every stitch; count 16.
- Round 3: [hdc in next st, inc] × 8; count 24.
- Round 4: [hdc in next 2 sts, inc] × 8; count 32.
- Place the crown flat and identify all eight Round 4 increases.
- Undo Round 4, then read it again from the diagram instead of from the written line.
The goal is not to make a finished hat. The goal is to connect symbol position, hand movement and counted result. Once that connection is clear, the full beanie chart becomes a sequence of small verified rings.
Final checklist before you leave a round
- I know whether this is a joined or continuous round.
- I know whether the beginning chain counts.
- The first real stitch is marked.
- I can state the repeat in words before working it.
- I know how many increases or decreases the ring contains.
- I know the expected counted total.
- I counted V-shaped stitch tops, not the loop on the hook.
- My crown shape agrees with the count.
- I moved the marker only after the round passed the check.
Frequently asked questions
Does every oval in a chart count as a stitch?
An oval usually represents a chain, but whether a beginning chain counts as one of the round’s stitches depends on the pattern. A chain inside a repeat or chain space normally performs a different structural job. Read the key and pattern note.
Does a slip stitch at the end of a round count?
It usually closes or repositions the round and is not included in the ordinary stitch total, but follow the specific pattern. In the practice model here, the slip stitch does not count and receives no stitches.
How can I tell that two chart symbols form an increase?
Follow their bases toward the previous ring. If both symbols attach to the same previous stitch top or space, work both new stitches into that one location.
Why does my joined seam drift diagonally?
Some stitch structures naturally shift the apparent seam. A drift can also come from placing the first stitch inconsistently or working into the join. First confirm the first and last real stitches with two markers; then check whether the pattern deliberately staggers increases or joins.
Can I use this decoder for single crochet or double crochet?
Yes, for evenly distributed circular growth. Choose the stitch and enter the chart’s stated Round 1 count and increases per growth round. The tool translates count logic; it does not decide the correct increase rate for every stitch, yarn or design.
What if the chart shows only one wedge instead of the whole circle?
That wedge is usually one repeat sector. Identify how many times the sector repeats around the circle, translate one sector, calculate its produced stitches, then multiply and verify against the stated total.
When should I stop increasing for an actual hat?
Do not stop from the diagram round number alone. Use the wearer’s head circumference, desired ease and your washed gauge to choose the target circumference, then measure again after one or two even body rounds. Link this question to the gauge-adaptive beanie pattern and hat-size interactive decoder.
The rule to remember
A diagram is not complete when you recognize the symbols. It is complete when you can name the insertion point, predict the stitch count, make the round and prove that the result matches.
References